Data Loss Prevention
Data Loss Prevention (DLP) detects and prevents unauthorized sharing or retrieval of confidential information, such as social security numbers, credit card numbers, and bank account numbers.
DLP enforces policies by associating data types with specific rules. It supports both file upload and file download, inspecting web-based transfers to prevent exposure of sensitive data.
Use Case
You are a financial organization aiming to prevent the upload or download of files containing confidential and sensitive data, such as bank account numbers, tax and revenue details, by unauthorized users.
Actions in DLP Rules
You can configure these actions within DLP rules:
-
Detect - Performs the DLP scan and detects the confidential information, but does not block the data.
-
Prevent - Performs the DLP scan and prevents data transfer if it finds a match to a data type.
Known Limitations
-
DLP applies only to files being uploaded or downloaded over a browser.
-
Traffic to or from native applications (EXE-based clients) is not supported.
-
The system must inspect the traffic (and not bypass it in the HTTPS Inspection policy) for DLP to take place.
-
DLP does not inspect Microsoft Purview sensitivity labels on files inside archive files (.zip, .rar, .7z, and similar). Sensitivity-label-based rules apply only when labeled files are uploaded or downloaded directly.
Operations
File Upload
-
DLP inspection is supported for files up to 16 MB.
-
Supports Agent version 11.7 and higher.
-
File type supported - see sk181662.
File Download
|
|
Note - The File Download feature is available only in Early Availability (EA) and appears in the UI only for EA tenants. |
-
DLP inspection is supported for files up to 10 MB.
-
Supports Agent version 12.3 and higher.
-
When Transfer Type is selected as File Download, at least one Service must be selected.
-
Encrypted files or files larger than the maximum size limit are not inspected, and a Skip log entry is recorded.
-
Websites:
DLP supports download inspection for these web services:
-
Box
-
ChatGPT
-
Dropbox
-
GitHub
-
GitLab
-
Gmail
-
Google Drive
-
Google Gemini
-
Jira
-
Microsoft Copilot
-
Microsoft Teams
-
Monday.com
-
OneDrive
-
Outlook
-
Salesforce
-
Slack
-
-
File Types:
Category
Extensions
Microsoft Office
-
Word: .doc, .dot, .docm, .docx, .dotx, .dotm
-
Excel: .xls, .xlt, .xlm, .xlsx, .xlsm, .xlsb, .xltx, .xltm, .xlam, .xlr, .csv, .xlc
-
PowerPoint: .ppt, .pps, .pot, .pptx, .pptm, .ppsx, .ppsm, .potx, .potm
-
OneNote: .one, .onepkg, .onetoc2
-
Outlook: .msg, .oft, .pst, .ost
-
Publisher: .pub, .pubx
-
Access: .mdb, .accdb, .accft
-
Project: .mpp
-
Other: .rtf, .snp, .xsn, .thmx
OpenOffice / LibreOffice
.odt, .ods, .odp, .odg, .sxw, .sxc, .sxi, .sxd, .sdw, .sdc, .sdp
Adobe
.pdf, .ai, .indd, .inx, .psd, .psb, .ps
Apple iWork
.pages, .pht, .key, .kth, .numbers, .nth, .num Archives
.arc, .rar, .zip, .7z, .lzh, .sit, .gz, .tar, .bz2, .xz, .arj, .cab, .z
Text & CSV
.txt, .log, .csv
Email
.eml, .nws, .mbox
WordPerfect
.wpd, .wp, .wp5, .wp6, .wpf, .wps
Lotus
.wk1, .wk3, .wks, .lwp, .mwp, .prz, .nsf, .lif, .pic
Hangul Word Processor
.hwp, .hna, .hbo
Databases
.dbf, .db, .wdb, .dat, .sdb
CAD
.dwg, .dxf, .dxb, .dwf, .dgn, .dx
Programming & Executables
.class, .dll, .exe, .com
Other Document Processors
.sam, .wri, .wpt, .jtd, .jw, .mw2
Spreadsheets
.qpw, .et
QuarkXPress
.qxp
FrameMaker
.fm
Visio
.vsd, .vdx
Digital Signatures
.p7m, .p7s, .sef
Other Files
.env, .chm, .hlp, .fd, .efx, .vcf, .ami, .rnd, .hqx, .c4, .rep, .cpi, .xys, .dwd, .es, .fc, .sh3, .dxl, .dca, .icf, .m11, .m4, .m5, .scf, .mpeg7, .obd, .wpm, .met, .p1, .awb, .awp, .pfs, .ppp, .tka, .psw, .q\&a, .wb3, .wb2, .qf, .rdf, .ras, .sda, .sig, .sxl, .svm, .sc5, .wrk, .uue, .vw, .vpd, .clp, .cur, .dib, .wmc, .en, .ws2, .ws, .wr1, .wbk, .yenc, .xxe
-
-
To maintain optimal internet performance, the system does not scan these file types:
Category
Extension
Media
.mp3, .mp4, .mpg, .mpeg, .avi, .mov, .asf, .wmv, .wma, .rm, .wav, .mid, .swf, .flv Graphics
.gif, .jpg, .jpeg, .png, .bmp, .tif, .tiff, .pct, .pict, .pnt, .pcx, .img, .tga, .pbm, .pgm, .ppm, .xbm, .xpm, .xwd, .svg, .emf, .wmf, .cgm, .cmx, .eps, .hgl, .hpg, .cal, .g3, .dcm, .fpx, .pcd, .orf
HTML/Web
.html, .htm, .xhtml, .css, .xml, .xmp, .js, .wml, .wmlb, .hdml, .chtml, .phtml
Fonts
.ttf, .ttc
Creating a DLP Rule
-
Sign in to the Check Point Infinity Portal and access the SASE Administrator Portal.
-
Click Data Loss Prevention.
-
Click the Policy tab.
-
Click Add New Rule.
A new row appears in the table.

-
Specify these:
-
In the Name column, enter a rule name.
-
In the Members and Groups column, select a user or a group to which you want to apply the rule. The default value is Any.
-
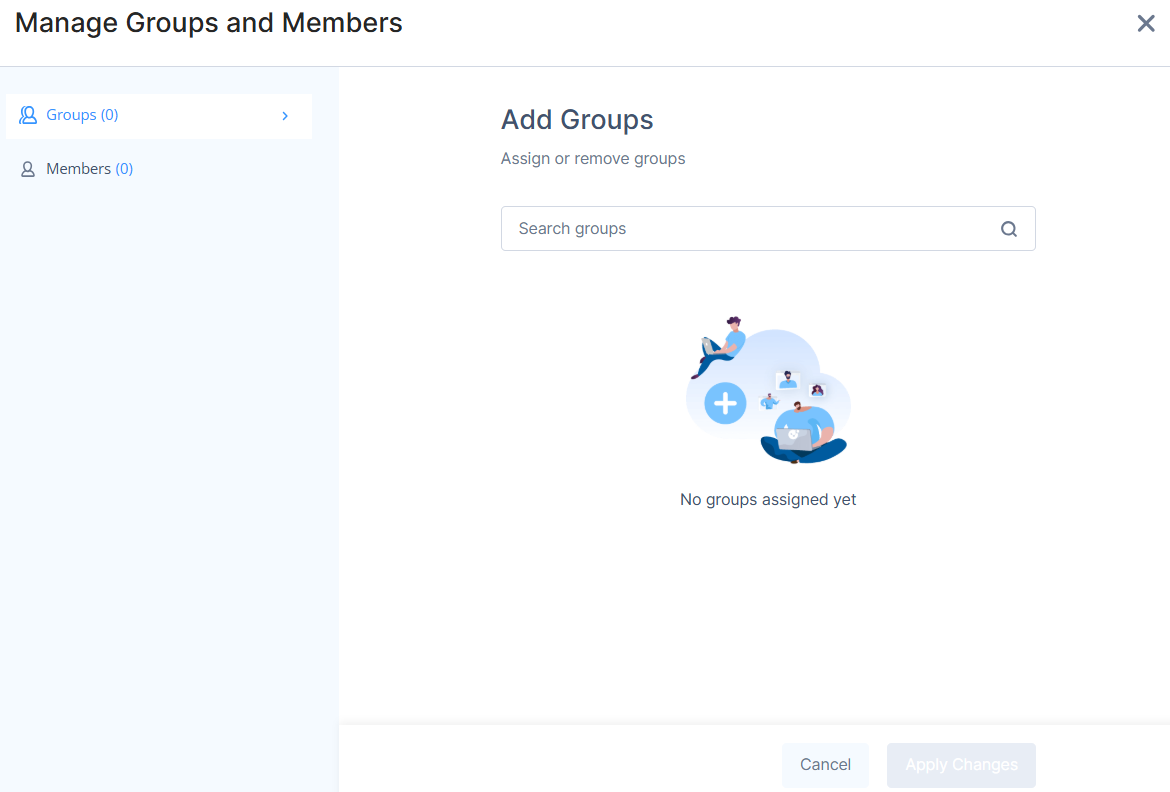
Hover over the Members and Groups column and click Add Source > Groups or Members.
The Manage Groups and Members window appears.
-
To add a group, select Groups and in the search groups field, search and select a group(s).
-
To add a member, select Members and in the search members field, search and select a member(s).
-
Click Apply Changes.
-
-
In the Service column, add a service to which you want to apply the rule. The default value is Any.
-
Hover over the Service column, click Add Service, and select one of these:
-
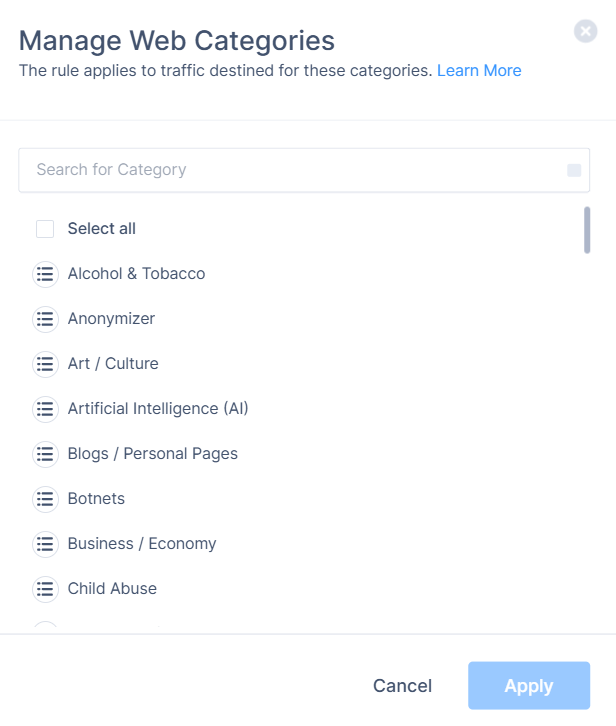
Web Categories:
-
Select Web Categories.
The Manage Web Categories window appears.
-
Search and select one or more categories and click Apply.
-
-
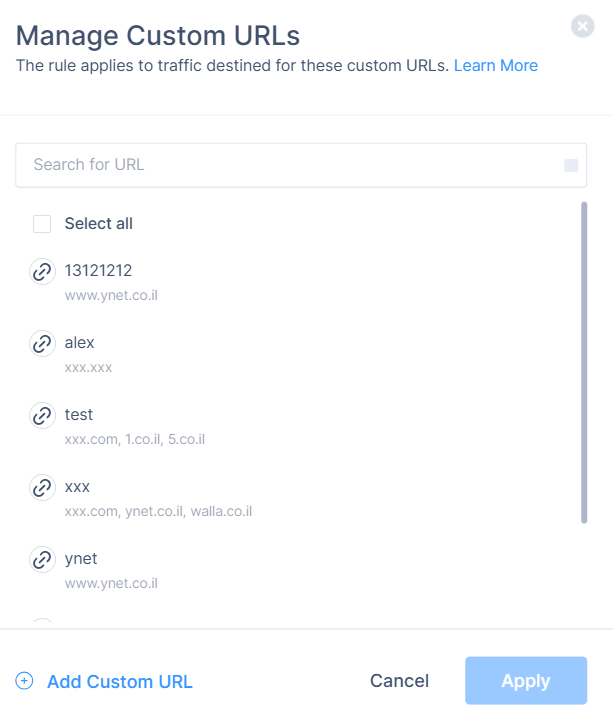
Custom URLs:
-
Select Custom URLs.
The Manage Custom URLs window appears.
-
Search and select one or more URLs and click Apply.
-
To add a new custom URL, click Add Custom URL.
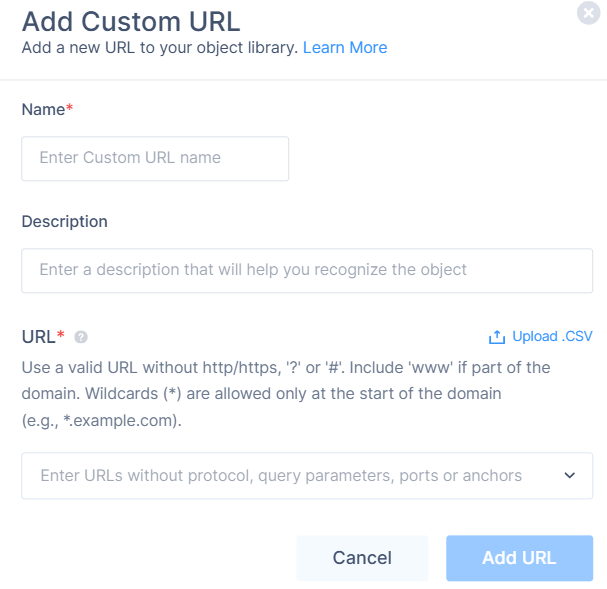
The Add Custom URL window appears.
-
Enter these:
-
Name - Name of the custom URL.
-
(Optional) Description
-
In the URL field, enter the list of URLs or upload a .CSV file with the list of URLs.

Note -
-
Do not add any protocols (http:// , https://) , query parameters (?) or anchors (#). If the URL includes a www prefix, include it as part of the domain. Wildcard (*) is supported and can only be used at the beginning of the domain, for example, *.example.com.
-
When uploading a CSV file with custom URLs, make sure the file does not include a header or subject line. Each row should contain only a single URL.
-
-
Click Add URL.
The system creates the URL and displays it in the Custom URLs page.
-
-
-
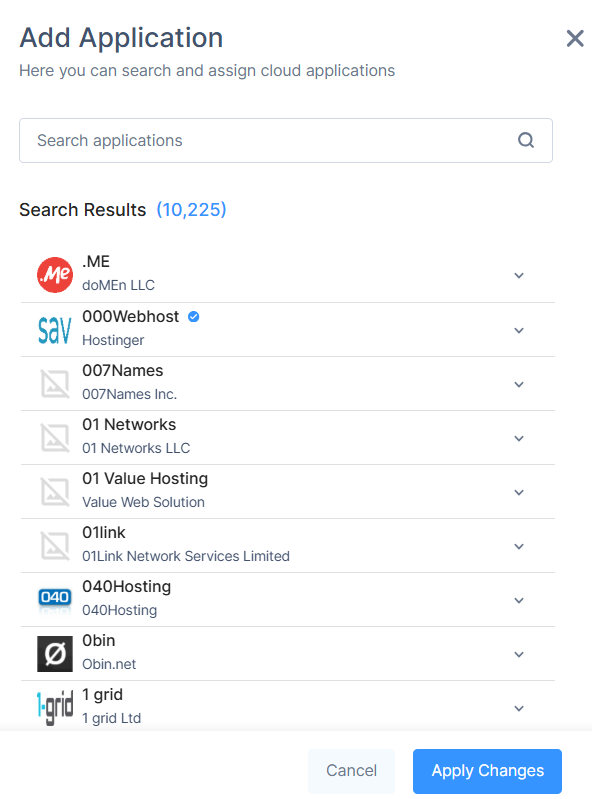
Applications:
-
Select Applications.
The Add Applications window appears.
-
Search the application for which you want to apply the rule.
-
Hover over the application and click
 .
. -
Click Apply Changes.
-
-
-
In the Data Types column, add a data type to which you want to apply the rule. The default value is Any.
-
Hover over the Data Types column, click Add Data Type, and select Add Data Types.
The Edit Data Types window appears.

-
Search and select the data type or a group.
You can specify up to 100 data types.
-
Click Apply.
-
-
In the Action column, select either of these:
-
Prevent - Block actions if sensitive data is detected and log the event.
-
Detect - Log the event.
-
-
Turn on the Status toggle button.
Notes:
-
To create a rule above or below a particular rule, hover over the rule and scroll to the end of the row, click and select Create Above or Create Below.
-
To duplicate a rule above or below a particular rule, hover over the rule and scroll to the end of the row, click and select Duplicate Above or Duplicate Below.
-
To delete a rule, hover over the rule and scroll to the end of the row, click , and select Delete.
-
Data Type Manager

| Legends | Description |
|---|---|
|
1 |
Name of the data type. |
|
2 |
Date and time (in MM/DD/YY, HH:MM:SS XM format) when the data type was last modified. |
|
3 |
Brief description of the data type. |
|
4 |
Custom tags (category) for the data type. Helps in searching for data types. |
|
5 |
Matching criteria:
|
|
6 |
The minimum number of times the matching criteria must be present in the file to trigger the DLP action specified in the policy capability rule. For example, if the matching criteria is Keyword, the value is credit and the Matching Threshold is 5, then the system takes the action specified by the policy capability rule if the file contains the term credit five times or more. |
|
7 |
Policy capability rules where the data type is used. |
|
8 |
Groups associated with the data type. |
|
9 |
Add the data type to a group. |
|
10 |
Duplicate the data type. |
|
11 |
Edit the data type. |
|
12 |
Filter data type by category. |
|
13 |
Search for a data type. |
Creating a Custom Data Type
To create a custom data type:
-
Sign in to the Check Point Infinity Portal and access the SASEAdministrator Portal.
-
Click Data Loss Prevention.
-
Click the Data Type Manager tab.
-
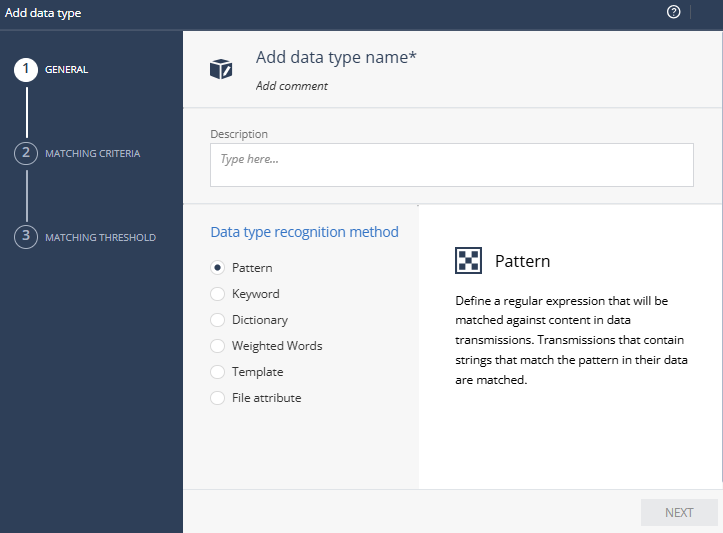
Click New and select Data type.
The Add data type wizard appears.
-
Enter the data type name, object comment (optional) and description.
-
From the Data type recognition method list, select a recognition method:
Recognition method Description Action
Pattern
Applies the action specified in the policy capability rule if the file contents match the threshold for the pattern.
For example:
-
Matches a sequence - 5523-2342
-
Employee numbers that have an EMP prefix, followed by 5 digits - EMP-\d{5}
-
Where, EMP- is the fixed prefix for all employee IDs, and \d{5} is exactly 5 digits (\d represents a digit, and {5}indicates that it must be exactly 5 digits long)
-
Match example: EMP-12345
-
In the Patterns section, enter the pattern and click
.Keyword
Applies the action specified in the policy capability rule if the file contents match the threshold for the keyword. For example, Confidential, Secret.
In the Keywords section, enter the keywords and click
.Dictionary
Applies the action specified in the policy capability rule if the file contents match the threshold for the terms in the dictionary. For example, Spain, China, United Kingdom.
Each keyword must be specified in a single line in the UTF-8 format.
Note - The recommended file formats are .doc, .docx and .txt.
Upload the dictionary file.
Weighted Words
Applies the action specified in the policy capability rule if the file contains keywords and the cumulative weight matches or exceeds the threshold.
Use this method to specify multiple keywords.
For example, consider two keywords:
-
credit with Weight=1 and Max. Weight=3
-
transaction with Weight=2 and Max. Weight=30
and Matching Threshold=15.
If the file contains six occurrences of credit, each contributing a Weight of 1. That is, 1x6=6. As the Max. Weight=3, the final weight is 3.
If the file contains eight occurrences of transaction, each contributing a Weight of 2. That is, 2x8=16. As the Max. Weight=30, the final weight is 16.
As the sum of final weights of credit and transaction, that is, 16+3=19 is greater than the Matching Threshold, the system applies the specified action in the policy capability rule.
If the sum of the final weights of the keywords is less than the Matching Threshold, then the file is uploaded or downloaded.
-
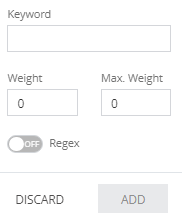
Click New.
-
Enter these:
-
Keyword
-
Weight - Weight for each occurrence of the keyword.
-
Max. Weight - Maximum allowed weight for the keyword.
-
-
If the keyword is a regular expression, turn on the Regex toggle button.
-
Click Add.
-
Repeat steps a through d to add the next keyword.
Template
Applies the action specified in the policy capability rule if the file contents match the threshold for the terms in the template. For example, a template with a set header, footer and logo.
If the template contains images, the DLP is triggered only if the file contains the images in the same format as in the specified template.
Upload the template file. File attribute
Applies the action specified in the policy capability rule if the file:
-
Matches the specified file name.
-
Size is equal to or greater than the specified file size.
-
Type matches the specified file type.
Select any of these and enter a value:
-
File name: For example, Account Numbers, Employee Details.
-
File size: File size in Byte, KB, MB or GB.
-
File type:
-
Click
and select the file type(s) from the list.
-
-
-
Click Next.
Note - This step does not apply to Template and File attribute recognition methods.
-
Select the matching threshold.
The minimum number of times the matching criteria must be present in the file to trigger the DLP. For example, if the matching criteria is Keyword, the value is credit and the Matching Threshold is 5, then the system takes the action specified by the policy capability rule if the file contain the term credit five times or more.
Note - This step does not apply to Template and File attribute recognition methods.
-
Click Finish.
The new custom data type is listed under Custom Data Types.
-
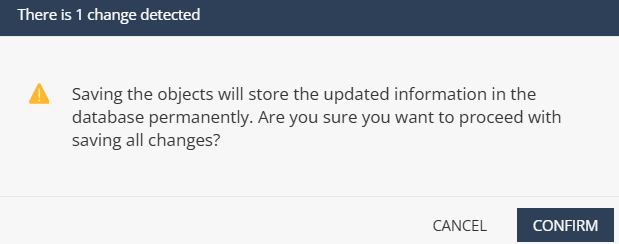
To permanently save all the changes to the database, click Save at the top.
The change detected window appears.
-
Click Confirm.
-
To discard all the changes, click Discard at the top.
The change detected window appears.
-
Click Confirm.
Creating a Custom Data Type Group
To create a custom data type group:
|
|
Note - Nested groups are not supported. |
-
Sign in to the Check Point Infinity Portal and access the SASE Administrator Portal.
-
Click Data Loss Prevention.
-
Click the Data Type Manager tab.
-
Click New and select Group.
The New Data type Group window appears.

-
Enter a group name, object comment (optional) and description.
-
To add predefined data types to the group, click in the Predefined Data types field and select the data type.
-
To add custom data types to the group, click in the Custom Data types field and select the data type.
-
Click Save.
The new data type group is listed under My Groups.
-
To permanently save all the changes to the database, click Save at the top.
The change detected window appears.
-
Click Confirm.
-
To discard all the changes, click Discard at the top.
The change detected window appears.
-
Click Confirm.
Adding an existing Data Type to a Group
To add an existing data type to a group:
-
Sign in to the Check Point Infinity Portal and access the SASE Administrator Portal.
-
Click Data Loss Prevention.
-
Click the Data Type Manager tab.
-
In the Data Type Name list, expand Custom Data Types or Predefined Data Types and select the data type.
-
Click Add to group.
-
Select the group(s) from the list.
-
Click Add.
-
To permanently save all the changes to the database, click Save at the top.
The change detected window appears.
-
Click Confirm.
-
To discard all the changes, click Discard at the top.
The change detected window appears.
-
Click Confirm.
Managing a Data Type or Group
-
Sign in to the Check Point Infinity Portal and access the SASE Administrator Portal.
-
Click Data Loss Prevention.
-
Click the Data Type Manager tab.
-
In the Data Type Name list, expand the DLP group and select the data type or the group.
-
To edit a data type or group, click Edit.

-
Make the required changes.

Note - If you edit a data type, the changes are reflected in all the groups that contain this data type.
-
Click OK.
-
-
To duplicate a data type or group, click Duplicate.

-
Make the required changes.
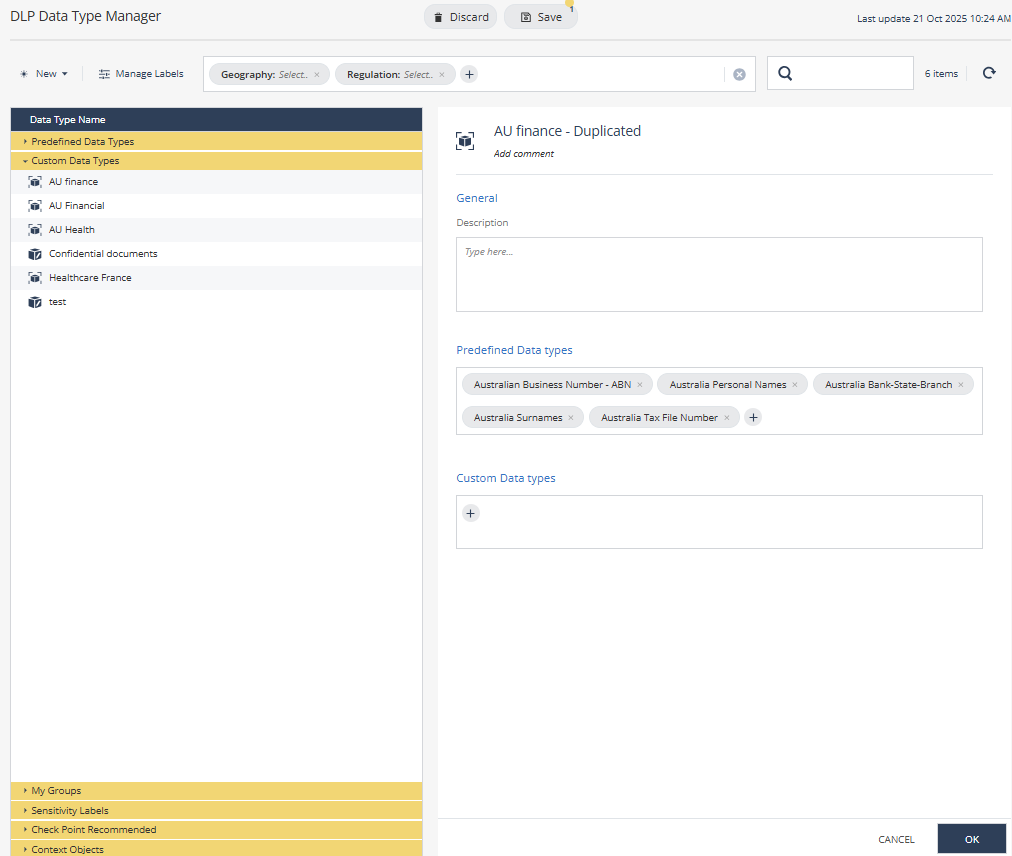
-
Click OK.
-
-
To delete a data type or group, click Delete.
The Deleting a data type window appears.

Note - Before you delete a data type, make sure to remove the data type from the group(s) and policy capability rules.
-
Click Delete Data Type.
-
-
To permanently save all the changes to the database, click Save at the top.
The change detected window appears.
-
Click Confirm.
-
To discard all the changes, click Discard at the top.
The change detected window appears.
-
Click Confirm.
Managing Microsoft Sensitivity Labels for DLP
SASE allows you to integrate Sensitivity labels from Microsoft Purview Information Protection into your DLP system, providing an additional layer of data protection based on predefined sensitivity classifications.
Step 1 - Copy the Microsoft Sensitivity label names and their UUIDs from Microsoft Purview
-
Log in to Microsoft Purview Portal: https://purview.microsoft.com/
-
Go to Solutions > Information protection > Labels.
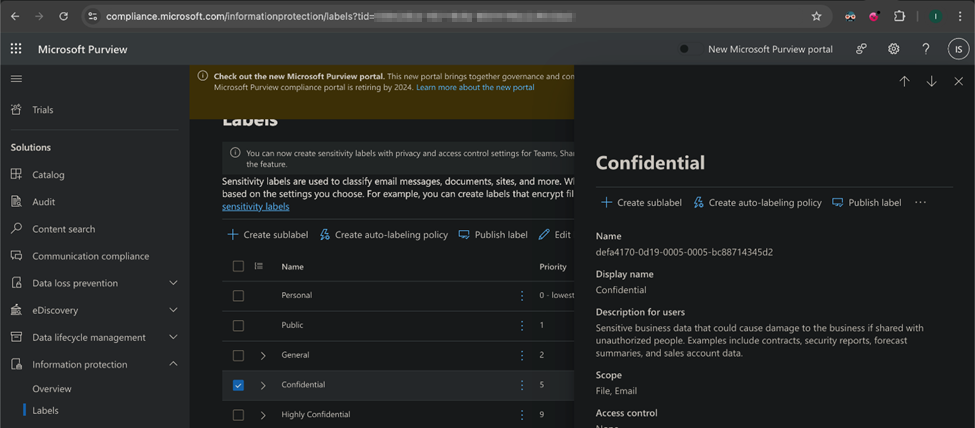
-
Click the label name for which you want to find the UUID.
-
Copy the UUID in the Label ID or GUID section.
-
Install the Exchange Online Management Module
The Microsoft Purview Security & Compliance PowerShell uses the Exchange Online Management Module for connection.
-
Open PowerShell as an administrator.
-
Run the following command:
Install-Module -Name ExchangeOnlineManagement -Force -
If the system prompts to install
NuGetor trust the repository, enterYand click Enter.
-
-
Connect to the Microsoft Purview Security & Compliance Center.
-
Run the following command to create a session:
Connect-IPPSSession -
In the Microsoft login page that appears, authenticate with the Microsoft 365administrator credentials.
Note - The administrator must have Compliance Administrator or Information Protection Administrator roles.
- If your Microsoft Purview portal has Multi-Factor Authentication (MFA), complete the MFA process.
Once authenticated, the session connects to the Microsoft Purview Security & Compliance Center.
Now, you can run Microsoft Purview Security & Compliance PowerShell commands, such as managing labels, policies, or settings.
-
-
To view the UUID of the labels, run the following commands:
Get-Label | Select-Object DisplayName, Name, Guid
-
Copy the UUID of the labels.
-
To disconnect the session, run the following command:
Disconnect-ExchangeOnline
Step 2 - Creating Microsoft Sensitivity Labels in SASE
-
Log in to Check Point Portal and access the SASE Administrator Portal:
-
Go to Policy > Data Loss Prevention and click DLP Data Type Manager.
-
Click Manage Labels.

The Manage Sensitivity Labels Dashboard window appears.

-
Click New.

-
In the Name field, enter a name for the label. For example, R&D Source Code.
-
In the UUID field, enter the label UUID. For more information, see Step 1 - Copy the Microsoft Sensitivity label names and their UUIDs from Microsoft Purview.
-
Click Add.
-
Click OK.
Note - The newly created label is now listed in Sensitivity Labels under Data Type Name section.
It also shows the label details:
-
Date modified
-
Description
-
Tags - Shows tags assigned, if any, for further categorization
-
Where used - Shows the DLP rule name that uses this label to enforce protection.
-
Groups - Shows if the label is part of any group.
You can use Tags and Groups to better organize and manage the sensitivity labels.

-
-
To edit a label, select the label you want to edit, click Edit, update the fields and then click Apply.

-
To delete a label, select the label you want to delete, click Delete and then click Delete Data Type.
-
Click Save.
-
Click Confirm.
Step 3 - Assign Sensitivity Labels to DLP Rules
After creating Sensitivity labels in SASE, you must assign them to the DLP rules to enforce data protection based on these sensitivity labels.
To assign sensitivity labels to a DLP rule, see Creating a DLP Rule.
DLP Logs
-
Logs are sent for Prevent and Detect.
-
File upload event generates a log for each handled file, regardless of whether the event is prevented, or detected.