Outputs
In the Outputs page, you can create collections of IoCs and build and manage integrations:
Collections
In the Collections tab, you can create and manage collections - customized, prioritized lists of threat intelligence feeds. The aggregator automatically removes duplicate IoCs, keeping only the entries from the highest-priority source.
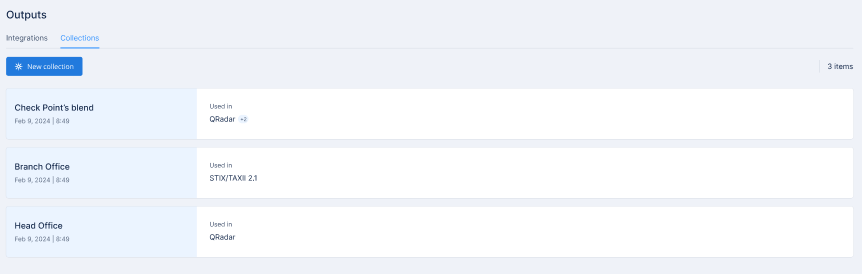
The Check Point collection is added by default and is connected to Check Point’s products.
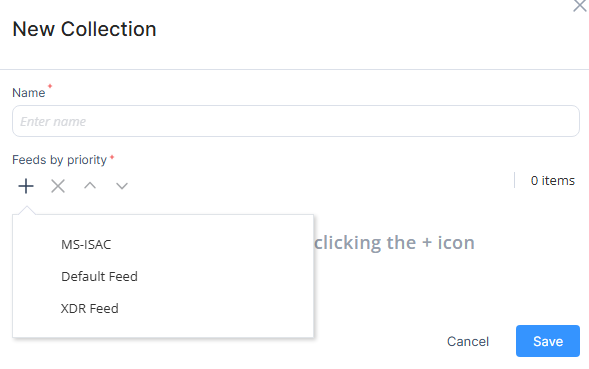
Adding a New Collection
-
Go to Outputs > Collections.
-
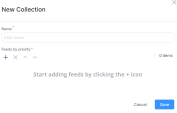
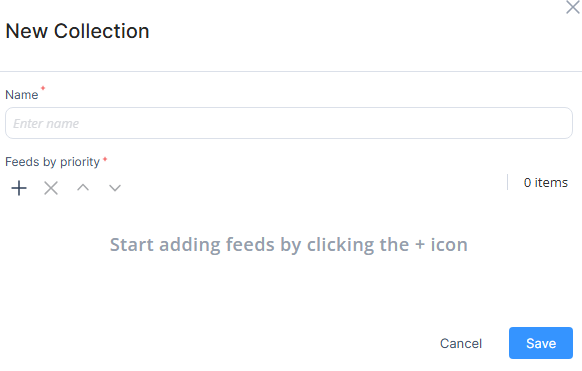
Click New collection.
The New Collection window appears.
-
Enter a name for the collection.
-
Choose the feeds that will be part of the collection:
-
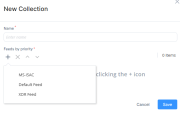
To add a new feed, click the + icon.
The system displays the list of available feeds.
-
Select the feed.
Repeat the procedure to add all the required feeds.
-
To set the feed order, select the feed and click the
 or
or  icons.
 -
To delete a feed from the collection, select the feed and click X.
-
Click Save.
-
|
|
Note - The aggregator automatically removes the duplicate IoCs, keeping only the entries from the highest-priority source. |
Managing Collections
To view IoCs from all feeds in a collection:
-
Click
 in the collection row.
 -
Click Open.
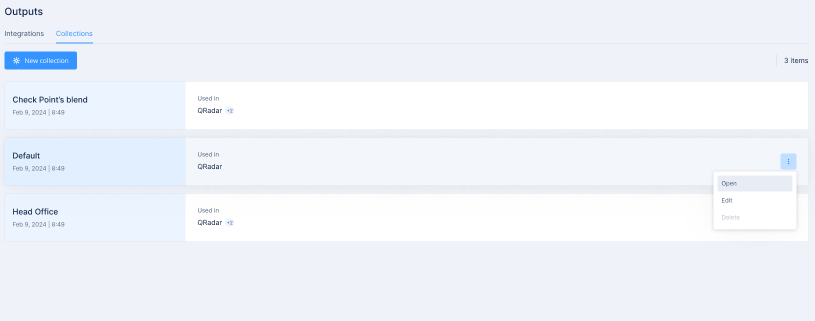
The system displays indicators from all feeds in the Collection.
To export IoCs to a CSV file, click Export CSV. The system downloads a CSV file that contains information only for enabled IoCs. Disabled IoCs are not included in the file.

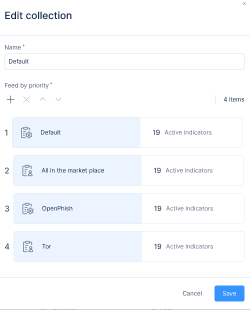
To edit a collection:
-
Do one of these:
-
In the Collections page, click
in the collection row and click Edit.
-
In the Collection details page, click the
 icon
icon 
The Edit collection pop-up appears.
-
-
Make the necessary changes and click Save.
To delete a collection:
|
|
Important - You cannot delete a collection if it is currently used in any integration. To delete the collection, first remove it from all associated integrations. |
-
Hover over the collection row and click
. -
Click Delete.
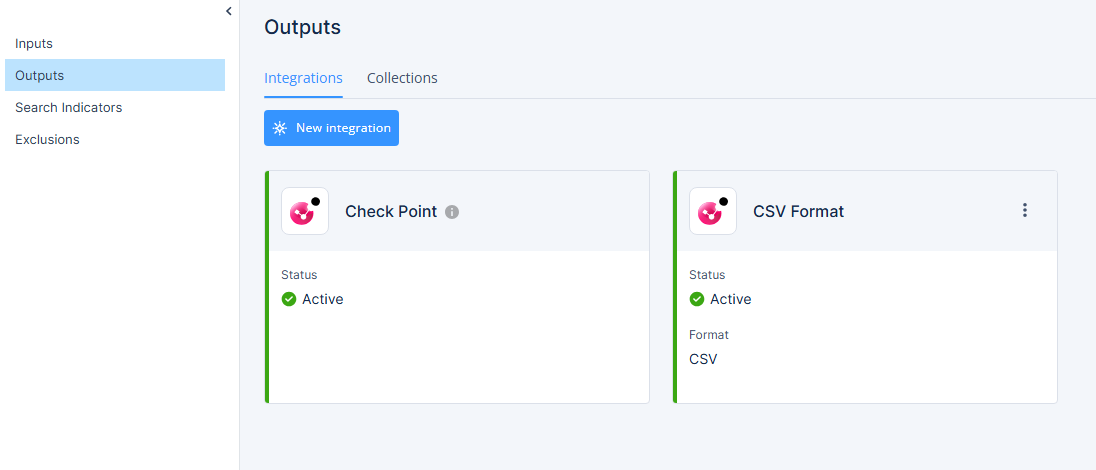
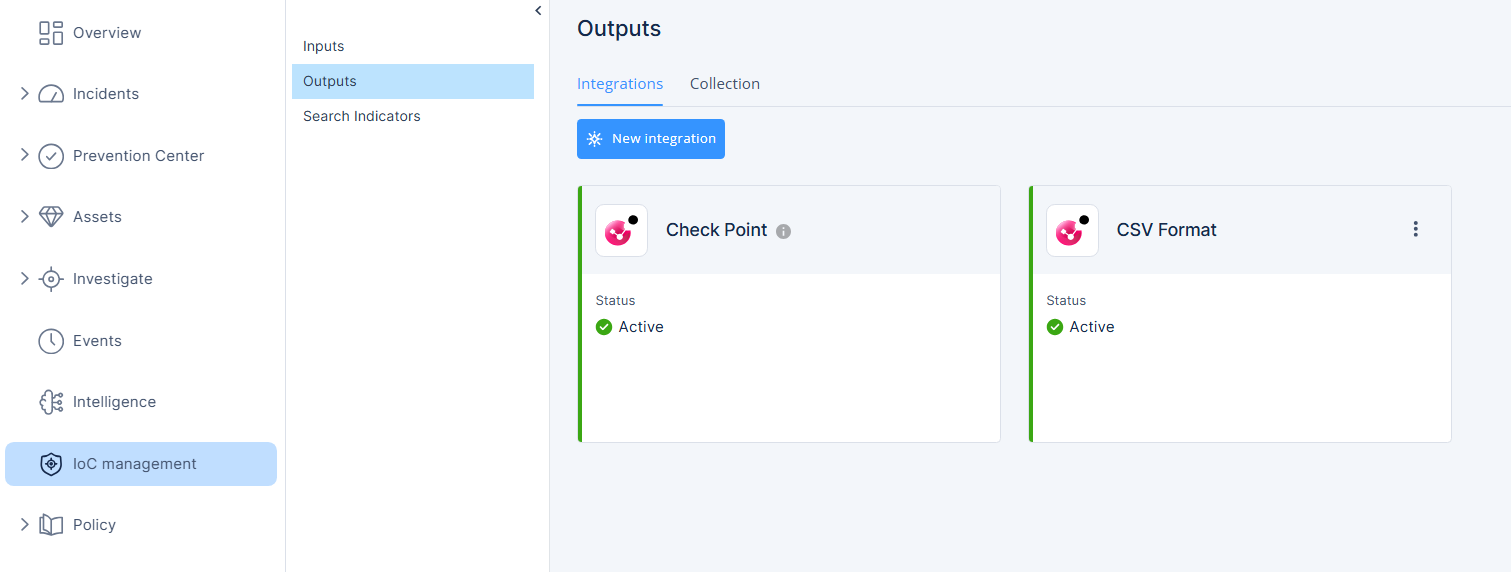
Integrations
In the Integrations tab, you can create new integrations and manage existing ones.
Check Point
The IOC Management is seamlessly connected to these Check Point products:
-
Harmony Endpoint
The IoCs are enforced automatically with Harmony Endpoint Security Client version E87.10 or higher.
For the known limitations of the New IoC Management in Harmony Endpoint, see sk181065.
-
Harmony Email & Collaboration
-
Harmony Browse
-
Harmony SASE
-
Harmony Mobile (Available on request, contact Check Point Support)

Note - Check Point’s products are connected to Check Point Collection.
To integrate IoCs into Quantum Gateway, create a CSV integration and import it to your management.
Known Limitations
For the known limitations of Infinity IoC when integrated with different Check Point products, see sk181065.
Adding a New Integration
-
Go to Outputs > Integrations.
-
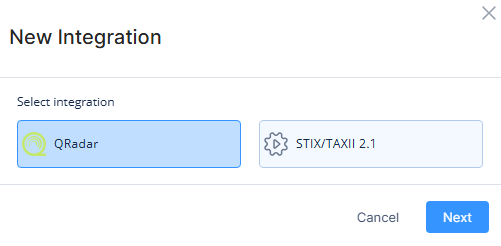
Click New Integration.
The New Integration window appears.
-
Select the integration.
(This procedure shows QRadar integration as an example).

-
Click Next.
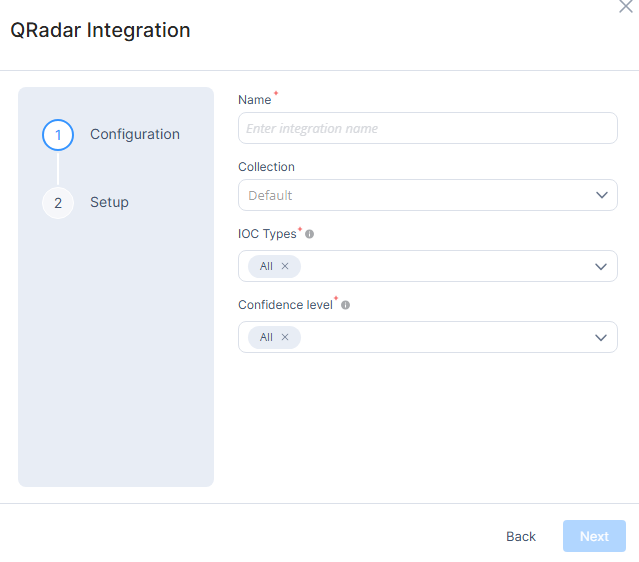
The QRadar Integration window appears.

-
Enter a name for the integration.
-
From the Collection list, select the feed collection.
-
(Optional) Choose filters for the integration:
Note - By default, all options are selected. These fields cannot be empty.
-
IOC Types - Select the indicator types to be added in the integration.
-
Confidence level - Select the confidence level of IoCs to be added in the integration.
-
-
Click Next.
The Setup tab appears.
The integration link is ready for use. Copy the URL to a secure location. It is required to complete the integration setup.
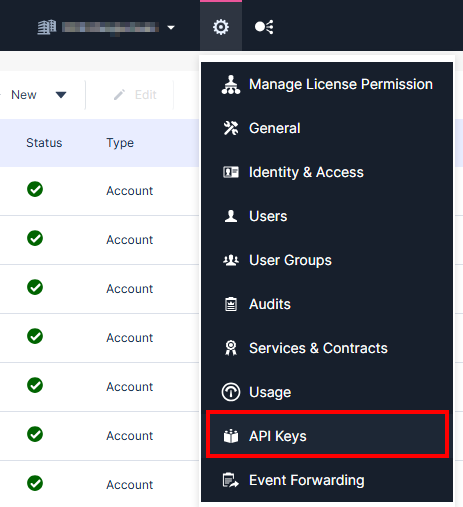
-
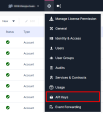
To generate Client ID and Secret Key for the integration, go to Settings and click API Keys.
-
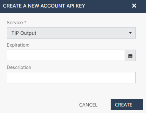
Click New > New account API Key.
-
From the Service list, select TIP Output.
-
Click Create.
-
Copy Client ID and Secret Key.

Important - Save the Client ID and Secret Key in a secure location. These credentials are displayed only once and cannot be retrieved after you click Close.
-
Complete the setup as per the instructions specific to your integration.
-
Click Done.