Integration with Partner Supported UEMs
Partner supported UEMs are the UEMs that support integration with Harmony Mobile and tested by the partner. This chapter describes the configuration steps in Harmony Mobile Administrator Portal to enable the integration with the following partner supported UEMs:
-
mdport solution
-
SevenPrinciples (7P)
-
Essentials MDM
 Mobile Device Manager. A security software that enable organizations to implement policies that secure, monitor, and manage end-user mobile devices. (Techstep/FAMOC)
 -
Hexnode
-
Scalefusion
-
Codeproof
|
|
Notes -
|
Configuring the UEM in the Harmony Mobile Administrator Portal
|
|
Note - To integrate ManageEngine UEM, you can skip the procedure below and refer this link. |
-
Log in to Check Point Infinity Portal and access the Harmony Mobile Administrator Portal.
-
Go to Settings > Integrations.
-
To create a new integration, click +Add > UEMs.
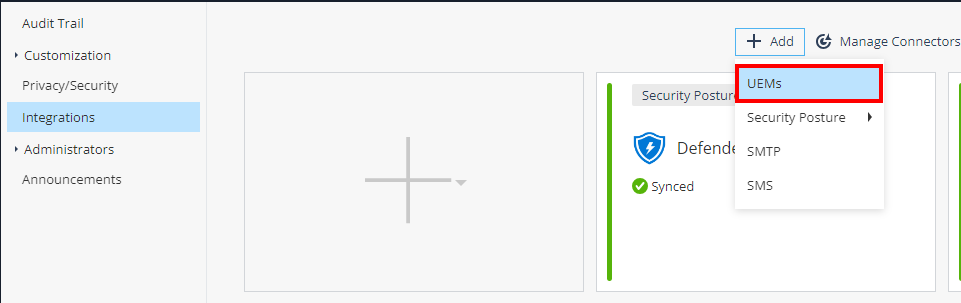
The integration wizard appears.
-
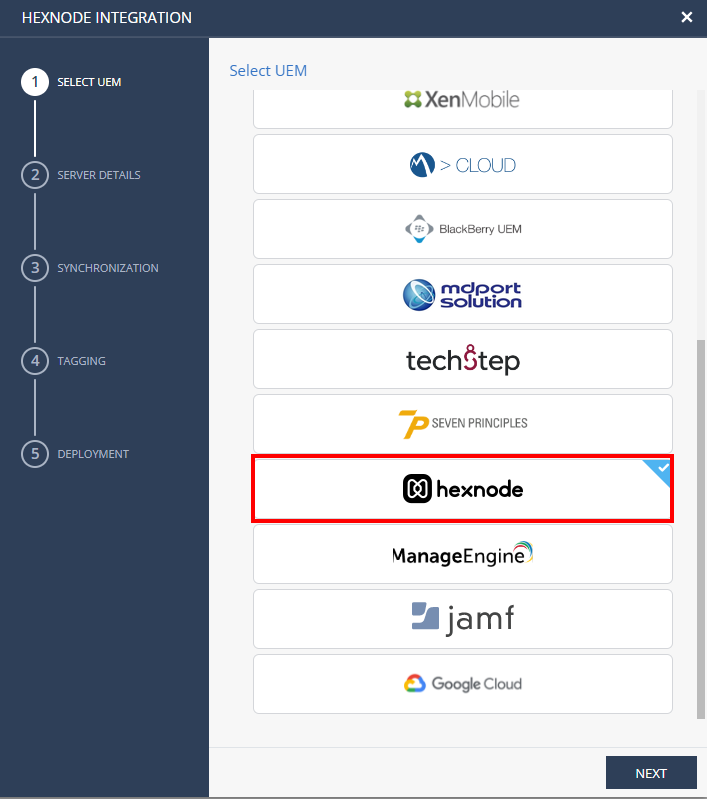
From the UEMs list, select the UEM you want to integrate and click Next.
For example, hexnode.
-
In the Server Details screen, do these:
-
Display Name: Enter a name for your service.
-
Server Address: Enter the server address of your UEM portal.
-
Username: Enter the username generated in the UEM portal.
-
Password: Enter the password in the UEM portal.

Notes -
-
Only basic authentication is supported.
-
Harmony Mobile uses the Username and the Password as credentials to make the http request to the UEM.
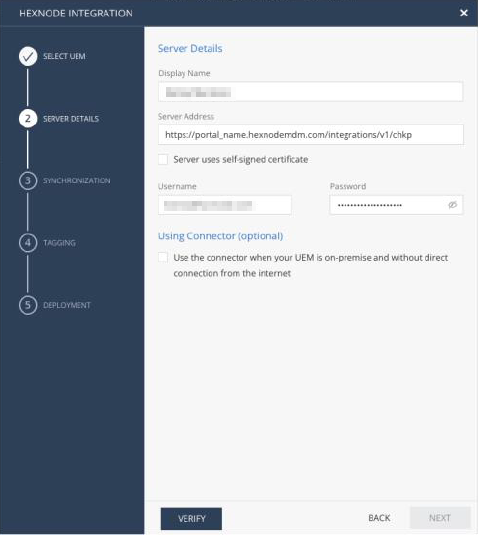
Using Connector (Optional)
You can configure Harmony Mobile Connector when the UEM is on-premises and has no direct access from the Harmony Mobile cloud. For more information, see Harmony Mobile Connector Installation Guide.
-
-
-
Click Verify and Next.
-
In the Synchronization screen, select the device groups in the UEM that you want to integrate with Harmony Mobile. The system automatically populates the device group list.

-
In the Advanced settings:
-
Select the Personally Identifiable Information (PII) you want to import. The supported options are:
-
Device name
-
Device number
-
Device email
-
-
Set the synchronization intervals:
Setting
Description
Values
Device sync interval
Time interval to connect with UEM to sync devices.
30-1440 minutes, in
10 minutes interval.
Device deletion threshold
Percentage of devices allowed for deletion after UEM device sync.
Set 100% for no threshold.
Device deletion after
The number of failed sync attempts after which the device is deleted from the Harmony Mobile Administrator Portal.
Value specified by the UEM Administrator.
App sync interval
Time interval to connect with UEM to sync applications.
10-1440 minutes, in 10 minutes intervals.
-
-
Click Verify and Next.
-
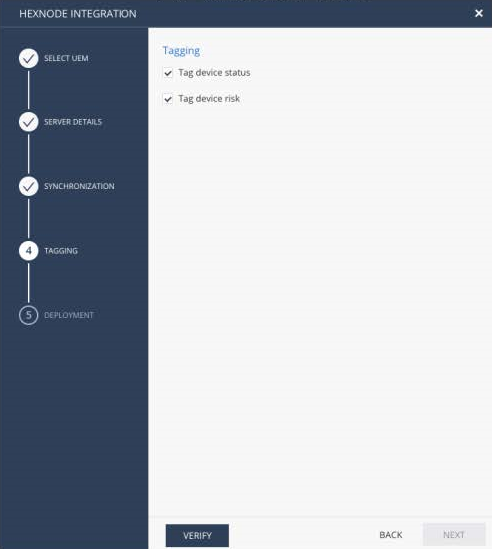
In the Tagging screen, select the tag information to send to the UEM, to communicate the deployment status of Harmony Mobile Protect App and the risk level of the device. Supported values are:
-
Tag device status: The device status in Harmony Mobile Protect App.
-
Tag device risk: The device risk level in Harmony Mobile Protect App.
-
-
Click Verify and Next.
-
In the Deployment screen, click Finish.
This completes the Harmony Mobile integration with the UEM and the UEM pane appears in the Integrations screen.
-
To view the integrated UEM settings, select the UEM pane and click the i icon.
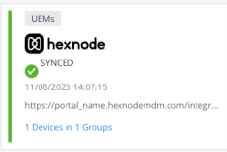
It shows:
-
UEM Server - The latest server configuration status.
-
Device Sync Status - The synchronized groups and the device sync status time stamp.
-
App Sync Status - The last time applications were fetched from the UEM (Applicable for iOS deployment only).
-
Tagging- Tagging Configuration and Tagging Status.
-
Deployment - Deployment Configuration and Deployment Status.
-
-
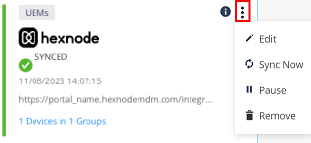
To manage the UEM settings, click the 3 dots in the UEM pane:
-
To edit the UEM settings, click Edit.
-
To force an immediate device sync without waiting for the next auto sync cycle, click Sync Now.
-
To temporarily stop the device sync process, click Pause. To resume, click Resume.
-
To remove the integration settings. click Remove.
-
Configuring UEM to Deploy the Harmony Mobile Protect App
To configure the UEM, refer the UEM documentation or contact your UEM vendor.