Managing Virtual Groups
Virtual Groups manage groups of users and devices.
You can use Virtual Groups with Active Directory for added flexibility or as an alternative to Active Directory.
Objects can be members of more than one virtual group.
The benefits of using Virtual Groups include:
-
Using the Active Directory without using it for Endpoint Security.
For example, different administrators want to manage the Active Directory and Endpoint Security.
-
Your Endpoint Security requirements are more complex than the Active Directory groups. For example, you want different groups for laptop and desktop computers.
-
Using a non-Active Directory LDAP tool.
-
Working without LDAP.
Some virtual groups are pre-defined with users and devices assigned to them automatically.
-
Access Harmony Endpoint and click Asset Management.
-
Go to Organization > Organizational Tree and select Virtual Groups.
-
To create a virtual group for a group, right-click a group.
-
To create a virtual group for a specific device or a user, click the group and right-click the device or user.
-
Select Create Virtual Group.
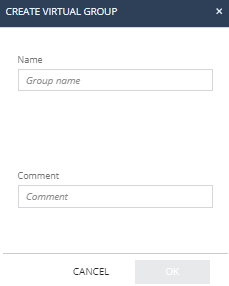
The Create Virtual Group window appears.
-
In the Name field, enter a group name.
-
(Optional) In the Comment field, enter a comment.

Notes:
-
A user or a device can belong to multiple virtual groups.
-
Selecting a certain user or device shows the Active Directory information collected about them.
-
You cannot edit Active Directory groups but you can view their content.
-
You can create a group and then assign the users or devices to the group, or select users or devices first and then create a group from them.
-
-
Click OK.
Note - You can also perform this procedure from Asset Management > Organization > Computers. See Managing Computers.
To add a group, device or a user to a virtual group:
-
Access Harmony Endpoint and click Asset Management.
-
Go to Organization > Organizational Tree and select Virtual Groups.
-
To add a group to a virtual group, right-click a group.
-
To add a specific device or a user to a virtual group, click the group and right-click the device or user.
-
Select Add to Virtual Group.
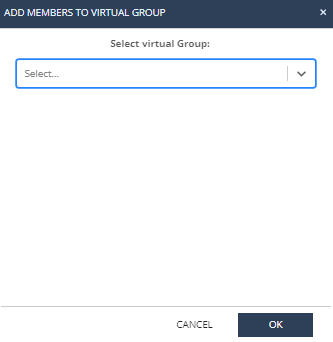
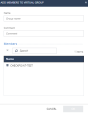
The Add Members to Virtual Group window appears.
-
Select the applicable virtual group.
-
Click OK.
Note - You can also perform this procedure from Asset Management > Organization > Computers. See Managing Computers.
To create a virtual group and add it to another virtual group:
-
Access Harmony Endpoint and click Asset Management.
-
Go to Organization > Organizational Tree and select Virtual Groups.
-
To create a virtual group and add it to a virtual group, right-click a group.
-
To create a virtual group and add a specific device or a user to a virtual group, click the group and right-click the device or user.
-
Select Create and Add to Virtual Group.
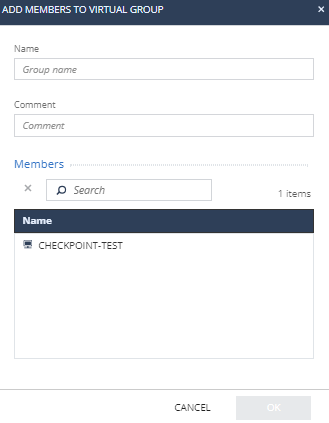
The Add Members to Virtual Group window appears.
-
In the Name field, enter a group name.
-
(Optional) In the Comment field, enter a comment.
-
In the Members section, search and select the member.
-
Click OK.
Note - You can also perform this procedure from Asset Management > Organization > Computers. See Managing Computers.
To move devices from one virtual group to another:
-
In the left navigation panel, click Asset Management.
-
In the left pane, click Organization > Organizational Tree.
-
Click Virtual Groups.
-
Move the devices:
-
To move all the devices from a virtual group, select the virtual group.
-
To move specific devices from a virtual group, click the virtual group, and select the devices.
-
-
Right-click the virtual group or devices and select Move to Virtual Group.
The Move Members to Virtual Group window appears.
-
Select the virtual group where you want to move the devices.
-
Click OK.
To remove device(s) from a virtual group:
-
From the left navigation panel, click Asset Management > Organization > Organizational Tree.
-
Click Virtual Groups.
-
Select the checkbox for the virtual group you want to modify.
-
Click the
 icon and select the device(s).
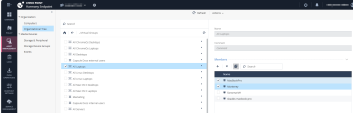
-
Click the
 icon.
icon.

To export the list of devices in a virtual group to an excel file:
-
From the left navigation panel, click Asset Management > Organization > Organization Tree.
-
From the list, click Virtual Group.
-
Right-click the virtual group and select Export Virtual Group Report.
The system exports the list of devices to an excel file. If the virtual group contains child virtual groups, then the devices in those virtual groups are also included in the exported file.
To delete multiple machines from a Virtual Group:
-
From the left navigation panel, click Asset Management > Organization > Organization Tree.
-
From the list, click Virtual Group.
-
Select the checkbox next to the name of the virtual group you want to modify.
-
Click the
icon and select the machines you want to remove from the virtual group. -
Click Delete Selected Members.
The system removes only the selected machines from the virtual group.