Configuring the SD-WAN Device
After you create the site at Check Point Harmony Connect, on this site you must configure your branch office to route traffic through Harmony Connect.
Check Point creates the back-end architecture for tunneling the traffic from the branch device to the Internet.
|
|
Notes:
|
To configure your branch device:
-
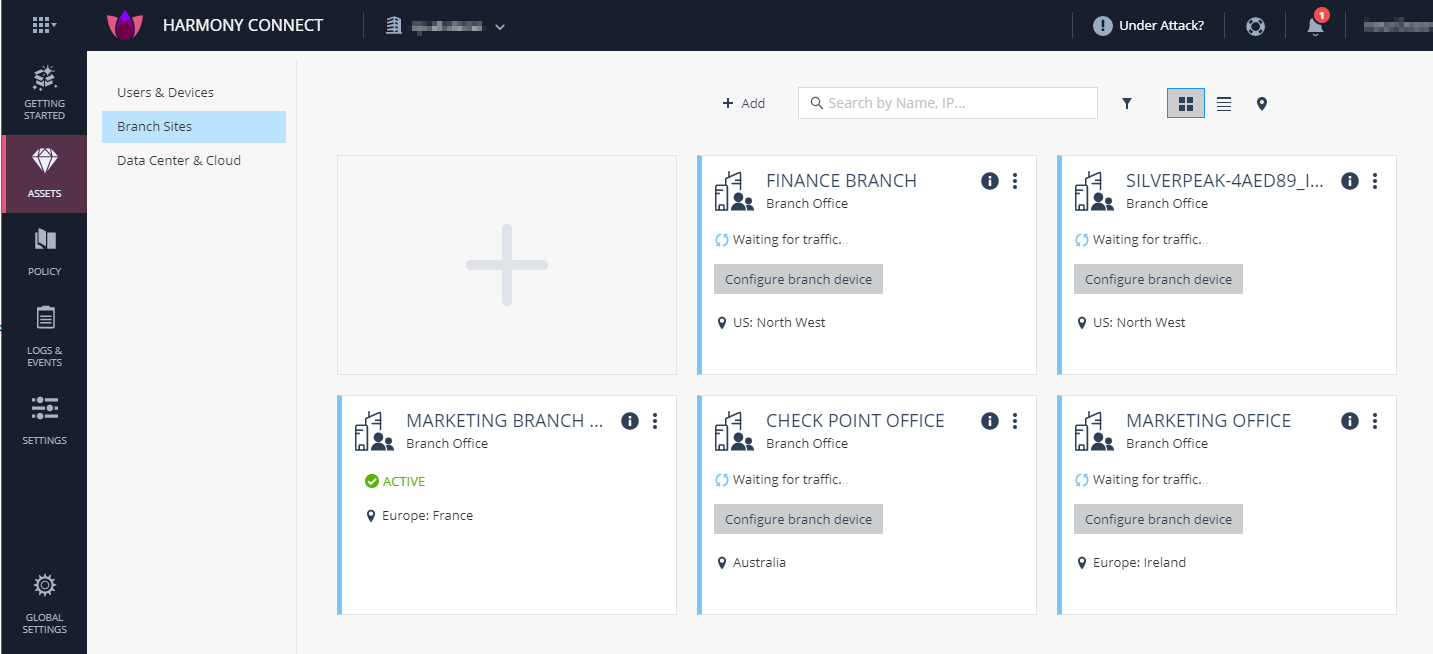
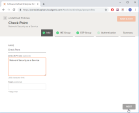
On the site thumbnail, click the Configure branch device button.
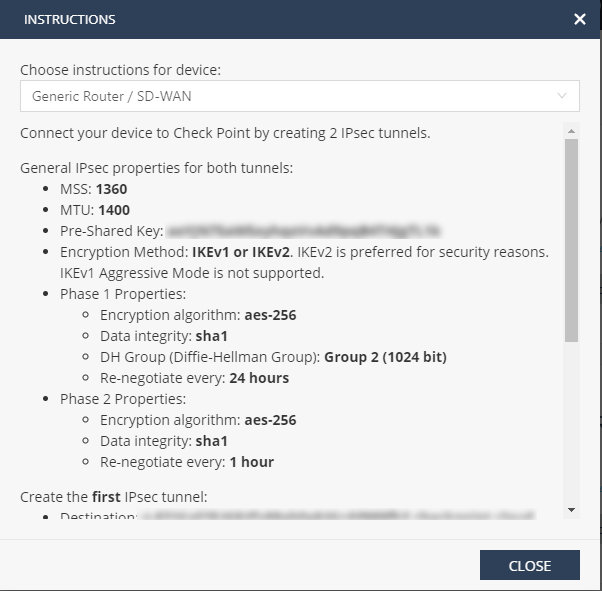
The Instructions window opens.
-
From the top field, select your SD-WAN branch office device.
-
Follow the instructions on the screen to get the IPsec configuration properties, pre-shared key, tunnel addresses, and the traffic routes.
-
Click Close.
Configuring CloudGenix on your SD-WAN Device
Refer to the CloudGenix SD-WAN Help for additional information.
To enable security on your sites, you must log into the CloudGenix management web interface.
To configure CloudGenix on your SD-WAN Device, perform these steps:
-
Create and configure two IPSec Tunnels for the routing traffic. See Creating an IPsec Profile.
-
Create a Service Group for connection between the CloudGenix devices and the third-party integrations. See Creating a Service Group.
-
Assign the traffic to the site. See Assigning the IPsec Tunnels to the Site.
-
Test your configuration. See Testing your Configuration.
Check Point provides two IPsec tunnels for its cloud security service. In process of a back-end upgrade Check Point can reset one of these tunnels for a short period of time. In this case, to achieve an up-time of 99.999% you must create two identical IPsec tunnels. Attach to them suffixes 1 and 2.
In this Guide the tunnels are named Check-Point-tunnel-1 and Check-Point-tunnel-2.
To create a WAN Edge IPsec first tunnel:
-
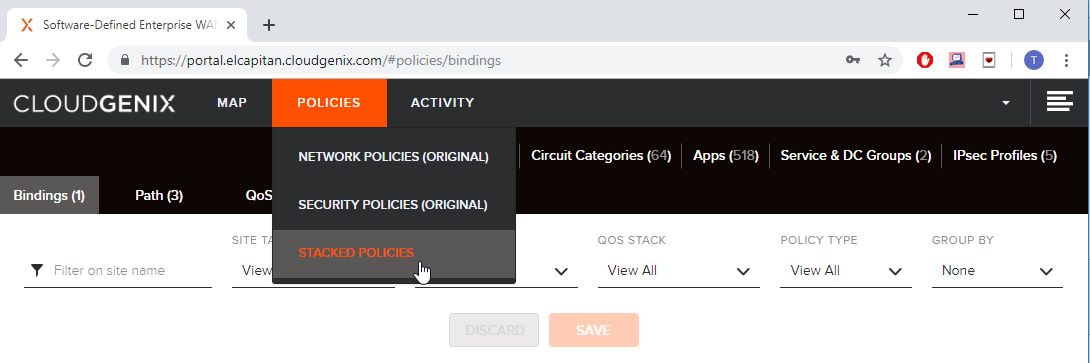
From the CloudGenix SD-WAN User Interface, go toPolicies > Stacked Policies.
Example:

-
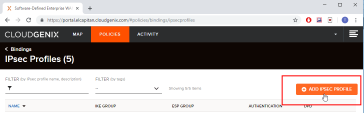
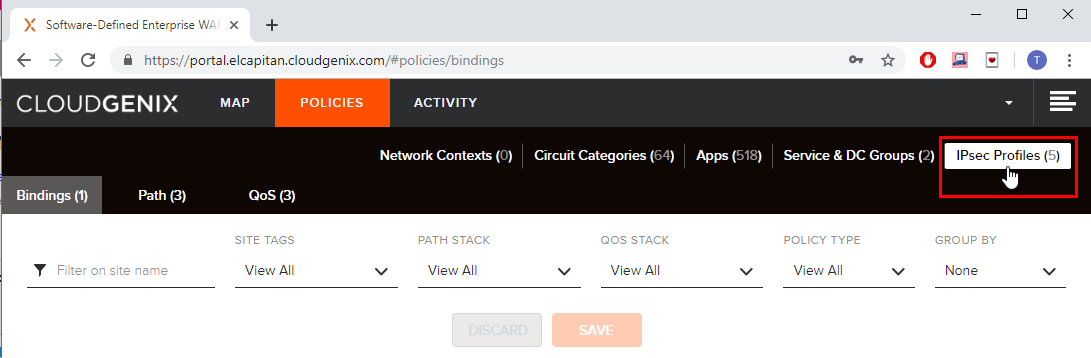
Click IPSec Profiles.
Example:

-
In the IPsec Profile window, click Add IPsec Profile.
Example:
-
Go to IPsec Profile page.
-
In Info section, define a name and description.
Example:
-
Click Next.
-
In IKE Group section, edit the IKE settings of the IPsec profile.
Example:
Set these parameters.
-
Key Exchange must be set to IKEv2. IKEv1 is also supported.
-
DH Group must be set to MODP-1024.
-
Encryption must be set to SHA-1.
-
Hash must be set to PSK.
-
DPD must be enabled.
-
IKE shared secret must be set to the pre-shared key that you defined at Check Point Infinity Portal.
-
-
Click Next.
-
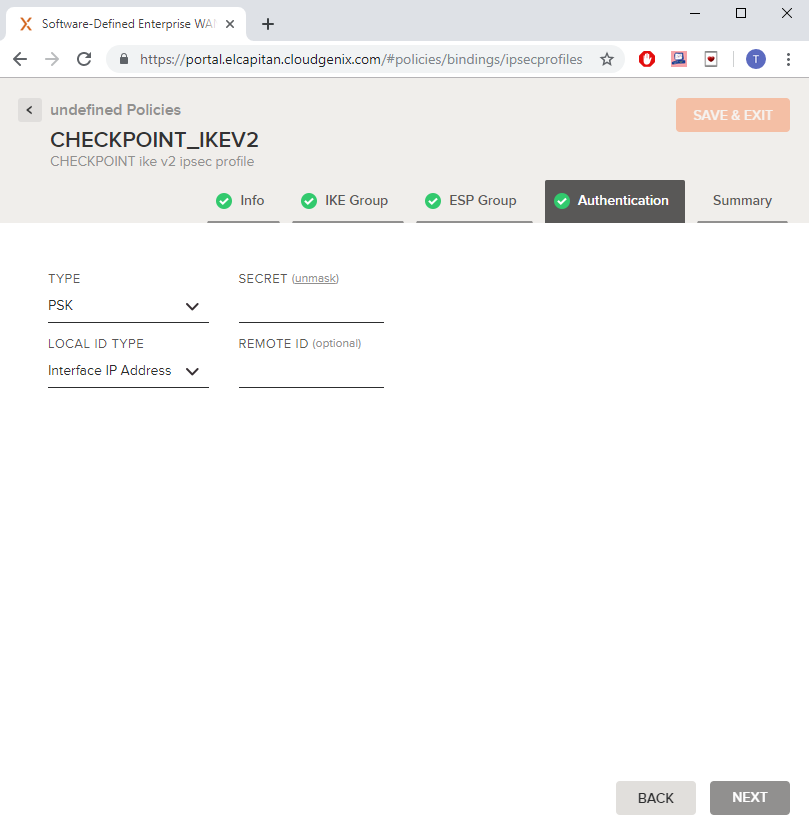
In Authentication section, edit the authentication settings:
Example:

Type must be set to PSK.
Secret: Enter the pre-shared key of the Check Point Site that you copied at the previous steps. See Creating a New Site.
Local ID Type must be set to Interface IP Address.
-
Click Next.
-
Review the IPsec Profile Configuration Settings.
-
Click Save & Exit.
Example:


Service Group is a set of tags and labels that represent integration with Check Point. The user can observe the connection between the CloudGenix devices and the third-party integrations.
Service Group will include two Check Point tunnels. See Creating a New Site .
To create a WAN Edge Upsurge Service Group:
-
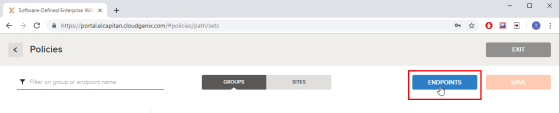
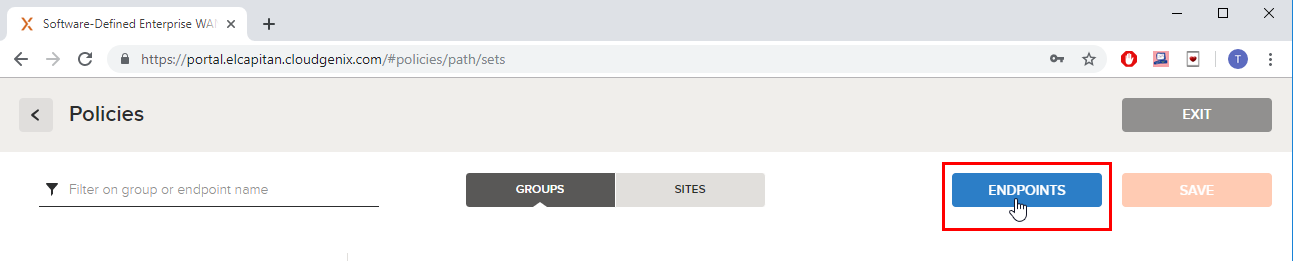
From the CloudGenix Central SD-WAN User Interface, go to Policies > Stacked Policies > Service & DC Groups.
Example:

-
Go to Groups tab > Endpoints.
Example:
-
In the Endpoints window, change the settings from CloudGenix to 3rd Party.
Example:
-
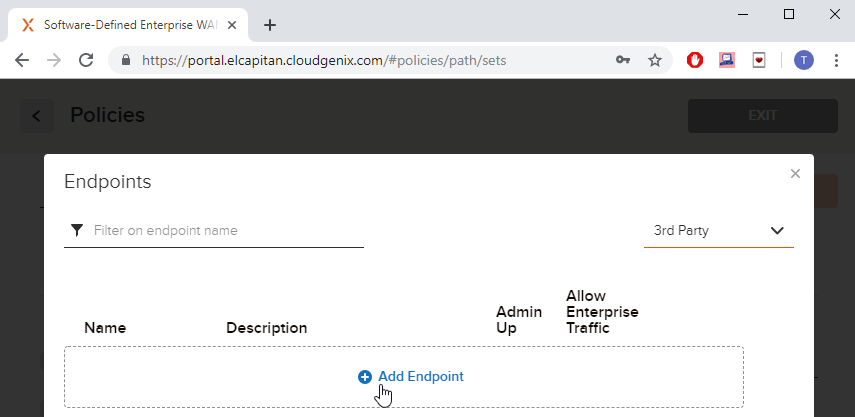
Click Add Endpoint.
Example:

Creating a tag for the first tunnel:
-
Name must be an alias for this tunnel. In this case, Check-Point-tunnel-1.
-
Admin Up must be checked.
-
-
Click Add Endpoint.
Creating a tag for the second tunnel:
-
Name must be an alias for this tunnel. In this case, Check-Point-tunnel-2.
-
Admin Up must be checked.
-
-
Click Save & Exit.
-
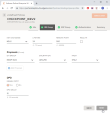
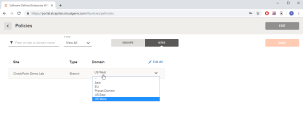
Go to Policies > Groups > Domains, click (+)Add to add a new Domain.

Note - Domain Name must be an alias for the Site (in this case, the Domain Name is Check Point).
-
Go to Sites tab > Domain column.
From the drop-down list, select the correct Domain for your device.
Note -For the purpose of this Guide, the Preset Domain is used.
Example:
-
Click Save.


Complete your Harmony Connect configuration and assign both Check Point IPsec Tunnels to the Site.
To configure the branch office device interface:
-
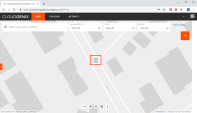
From the CloudGenix User Interface, go to Map.
Example:
-
Locate your device on the map.
Example:

-
Click on the selected device.
-
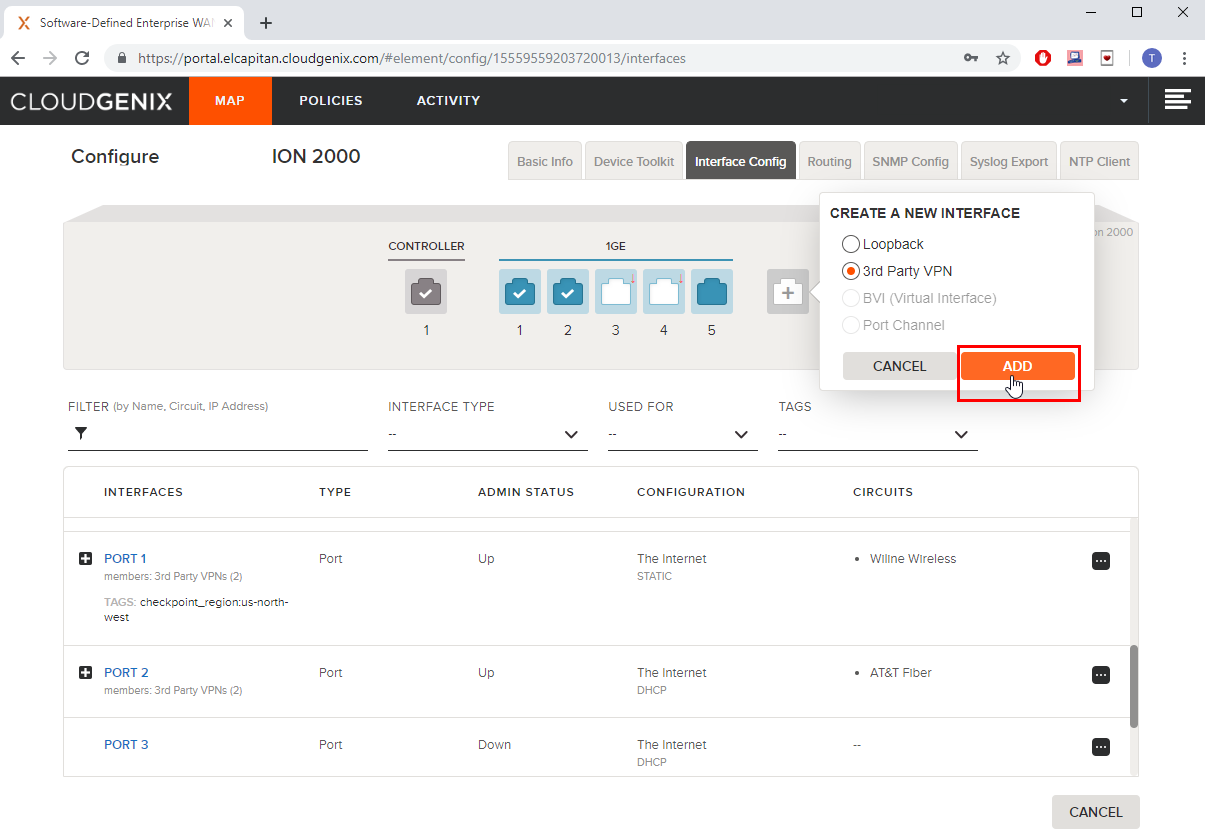
Go to Interface Config > Create a New Interface.
Example:

-
Add the two created Check Point IPsec tunnels:
-
Check-Point-tunnel-1:
-
Click [+] icon > select 3rd Party VPN > click Add.
The Tunnel Configuration page opens.
Example:
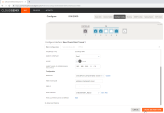
Configure these settings:
-
Name must be an alias for this tunnel. In this case, Check-Point-tunnel-1.
-
Admin Up must be checked.
-
Parent Interface must be set to the outbound interface.
-
Inner Tunnel IP / Address Mask must be set to an internal IP behind your device that you must allocate for the tunnel.
-
Endpoint must be set to the Endpoint that represented a tunnel defined in the previous step. In this case, Check-Point-tunnel-1.
-
Peer Hostname must be set to the destination of the first Check Point tunnel that you copied from the previous steps.
-
Peer IP must remain empty.
-
IPSec Profile must be set to the value defined in the first step. See Creating an IPsec Profile.
-
-
Click Create 3rd Party VPN.
If the tunnel was created successfully, you will be informed by an indication in the top-right corner of the page.
-
-
Check-Point-tunnel-2:
-
Repeat the above steps for Check-Point-tunnel-1 to create the second IPsec tunnel.
Note - Name must be an alias for this tunnel. In this case, Check-Point-tunnel-2.
-
Click Create 3rd Party VPN.
If the tunnel was created successfully, you will be informed by an indication in the top-right corner of the page.
-
-
-
Click Cancel to go back to the interfaces configuration.


To test the Harmony Connect configuration, you must check its activity on your branch office device.
After that go to the Check Point Infinity Portal and monitor the Cybersecurity Events. See Monitoring Cybersecurity Events.
To test the Harmony Connect configuration:
-
Route the traffic from your Site to the Internet.
-
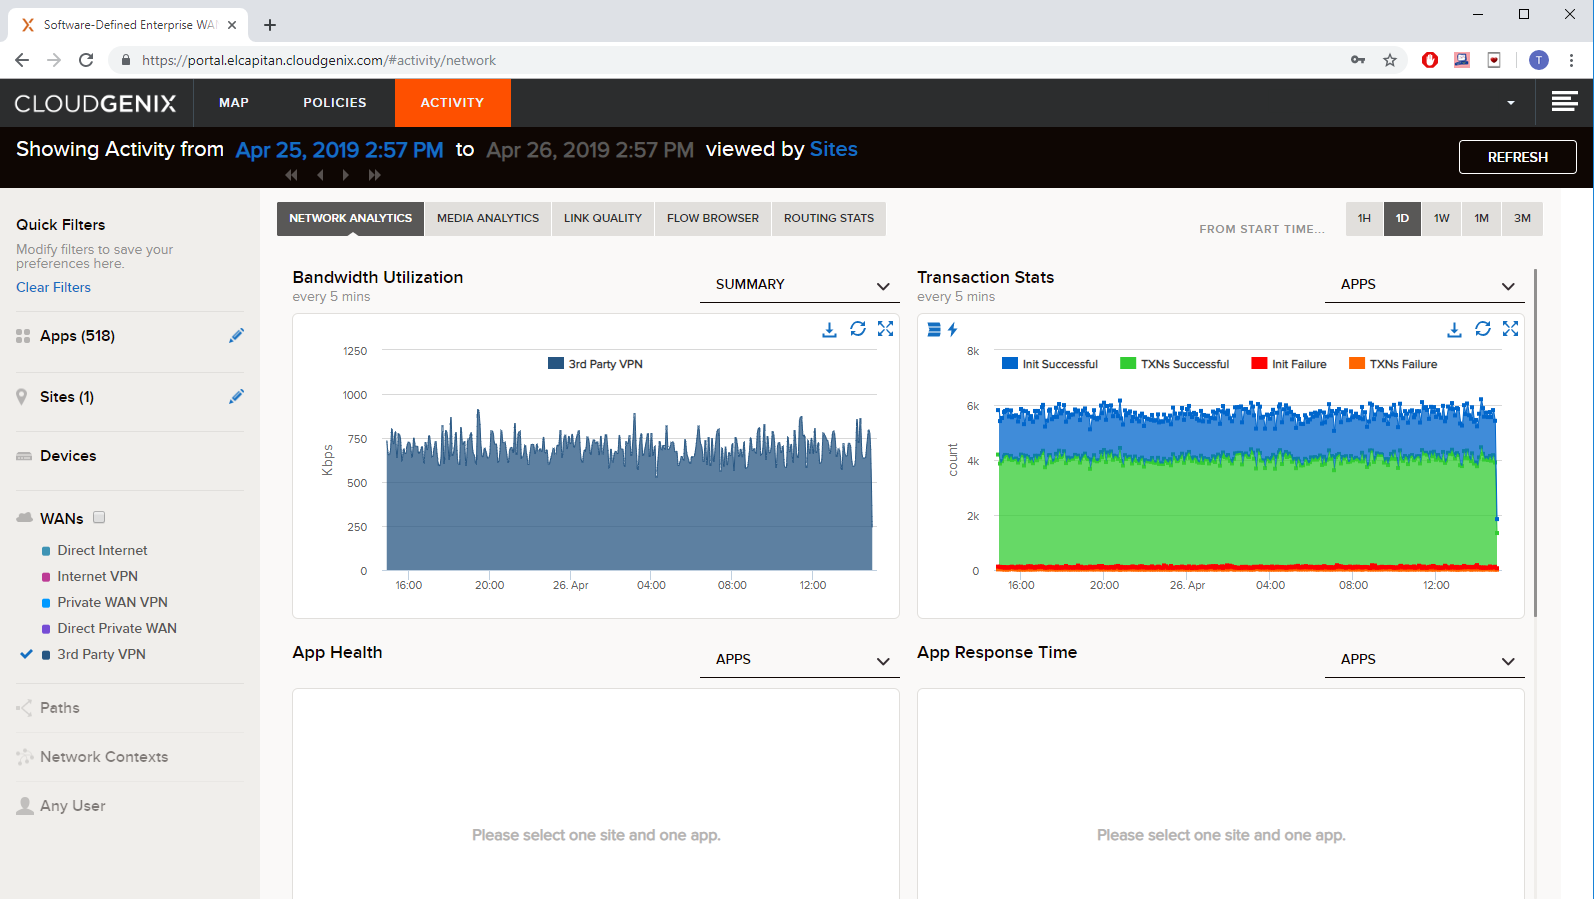
From the CloudGenix SD-WAN User Interface, go to the Activity.
-
Make sure that Check-Point-tunnel-1 and Check-Point-tunnel-1 tunnels are up.
They must show the amount of traffic that is sent and received.
Example: