Email Security Portal
The Email Security Portal provides you with a user-friendly interface to handle emails flagged as suspicious or potentially harmful, allowing you to manage them proactively while ensuring a secure environment for your email communications.
In the Email Security Portal, you can preview the quarantined emails, restore them, or submit a restore request for them - all in accordance with your organization's policies.
Benefits
-
Proactive Management: Handle suspicious emails proactively.
-
Enhanced Security: Reduce the risk of phishing and malware.
-
User Empowerment: Take immediate action without IT support.
-
Efficient Filtering: Quickly find and manage specific emails quarantined emails.
-
Trust Management: Add trusted senders to improve email delivery.
-
Clear Status Tracking: Track the status of your restore requests easily.
Accessing the Email Security Portal
Depending on your organizational policy, you can access the Email Security Portal using any of these authentication methods:
-
Microsoft login
-
Google login
-
One-time password via email
To log in to the Email Security Portal:
-
Access the Email Security Portal using https://email-security-portal.checkpoint.com.

-
To sign in using Microsoft credentials:
-
Click Sign in with Microsoft.
-
Follow the on-screen instructions and sign in with your organization's Microsoft credentials.
-
-
To sign in using Google credentials:
-
Click Sign in with Google.
-
Follow the on-screen instructions and sign in with your organization's Google credentials.
-
-
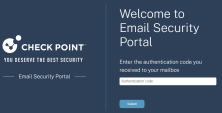
To sign in using one-time password through email:
-
In the Enter your email address field, enter your organizational email address.
-
Click Submit.
The system sends a verification code to your organizational email address.
-
In the Enter the authentication code you received to your mailbox field, enter the verification code you received to your organizational email address.
-
Click Submit.
-


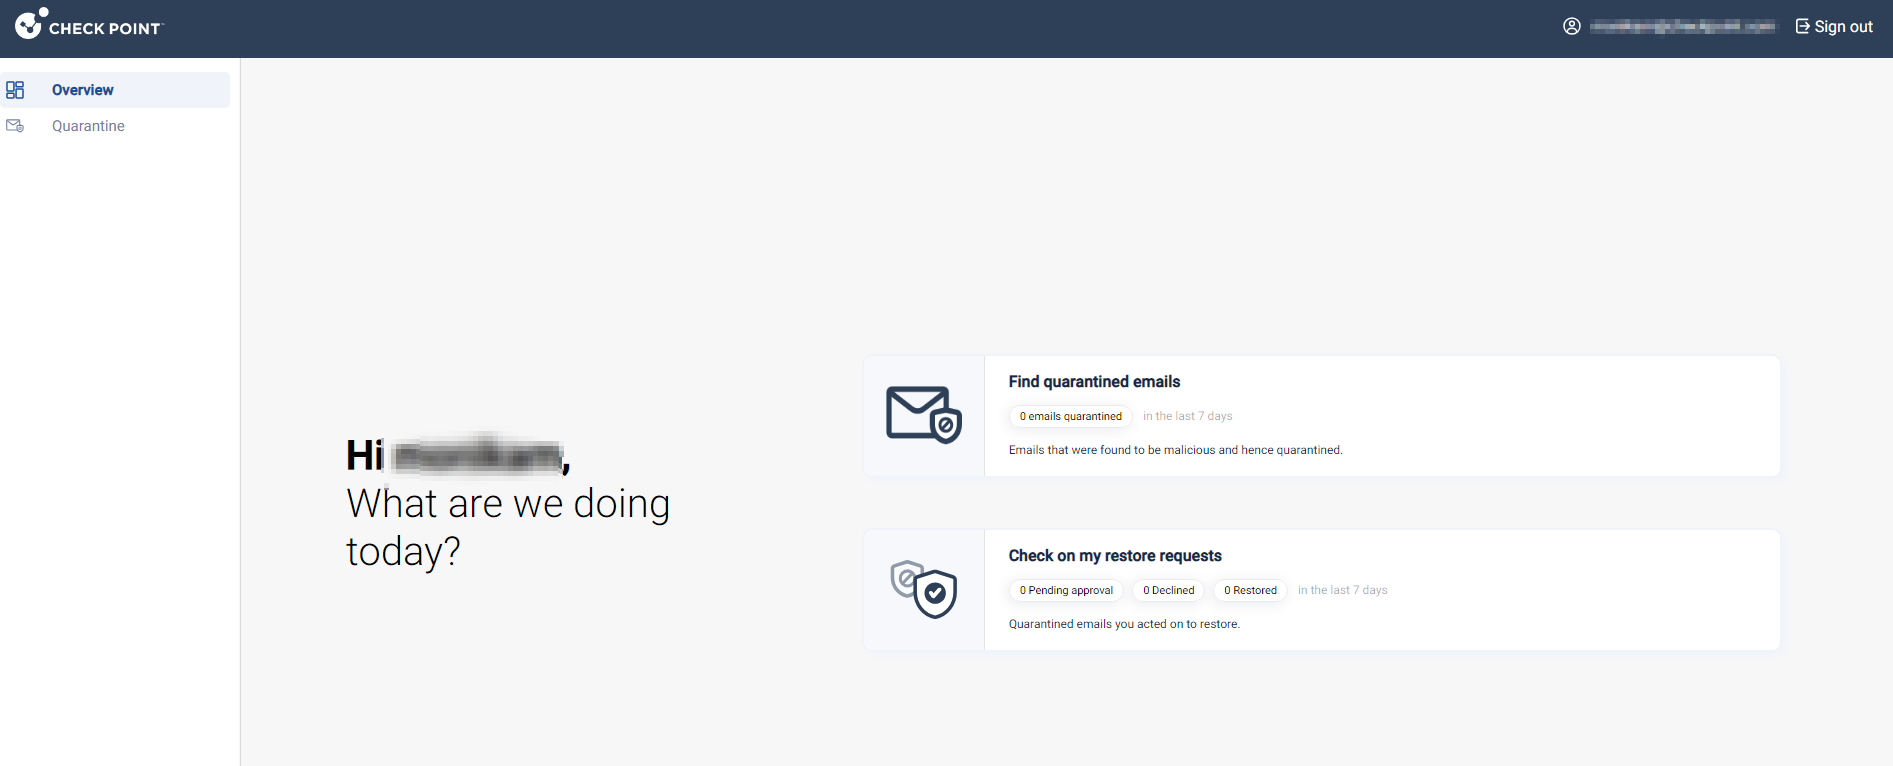
After successful authentication, the Overview page appears.
Viewing Quarantined Emails
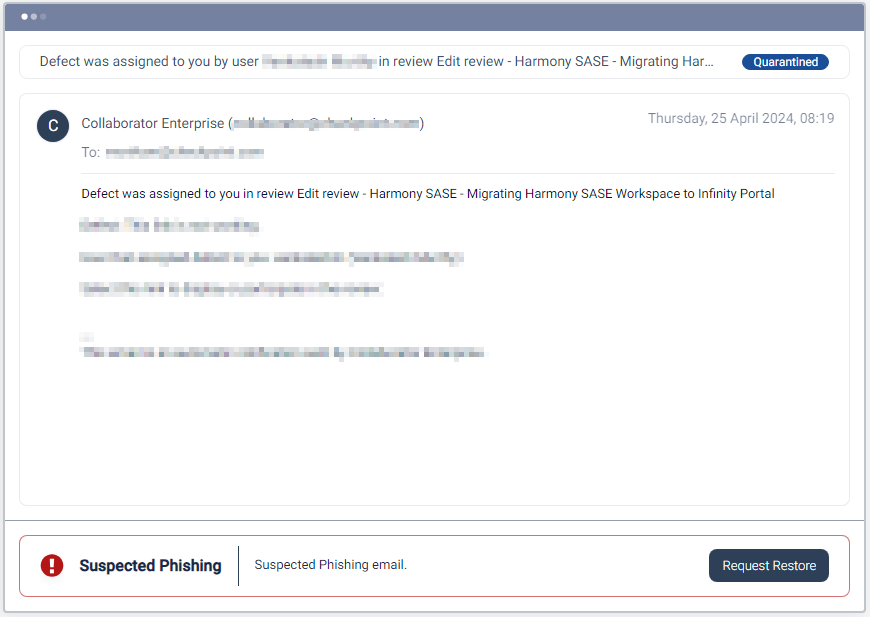
The Quarantined Emails page shows all the quarantined emails.
|
|
Note - You can view only a preview of the quarantined emails.
|

To view the Quarantined Emails page, do one of these:
-
In the Overview page, click Find quarantined emails.
-
From the left navigation panel, click Quarantine and select the Quarantined Emails tab.

|
Legend |
Item |
Description |
||||||||||||||
|---|---|---|---|---|---|---|---|---|---|---|---|---|---|---|---|---|
| 1 | Quarantined emails | All quarantined emails that you can take action on. | ||||||||||||||
| 2 | Email Subject | Subject of the email. | ||||||||||||||
| 3 | Date and Time | Day, date and time the email was received. | ||||||||||||||
| 4 | Email body | Body of the email. | ||||||||||||||
| 5 | Threat Category | Category of the quarantined email, such as malware and phishing. | ||||||||||||||
|
6 |
User Actions |
Shows the available user actions for the email.
|
||||||||||||||
| 7
|
Filters |
Available options to filter the emails.
|
Restoring Quarantined Emails
Based on the threat category of an email, your organizational administrators would have configured policies that allows you to restore the email yourself or require administrator's approval for restoration.
-
Restore - Allows you to restore the email yourself without an administrator's approval.
-
Request Restore - Allows you to request to restore the email. The email will be delivered to your mailbox only when it is approved by an administrator.
How to restore emails that do not need an administrator's approval
For emails that do not need an administrator's approval, the Restore option appears. To restore these emails:
-
Select the email you want to restore.

-
Click Restore.
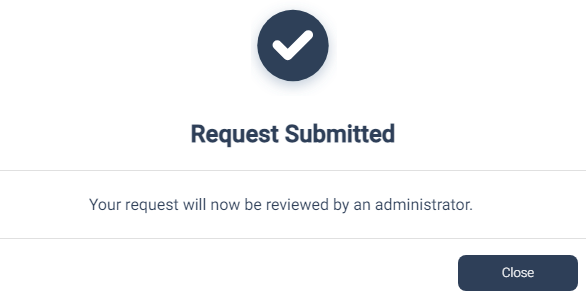
The Restore window appears.

-
Click Submit.
The email gets restored to your mailbox.

-
Click Close.
Once restored, the email status changes from Quarantined to Restored.

How to restore emails that need an administrator's approval
For emails that need an administrator's approval, the Request Restore option appears. To restore these emails:
-
Select the email that you want to restore.
-
Click Request Restore.
The Request Restore window appears.
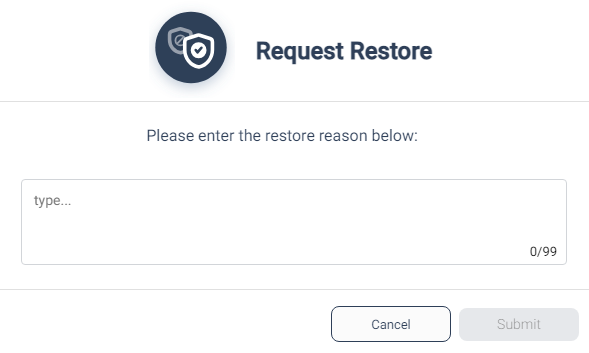
-
In the Please enter the restore reason below field, enter your justification for restoring the email.
-
Click Submit.
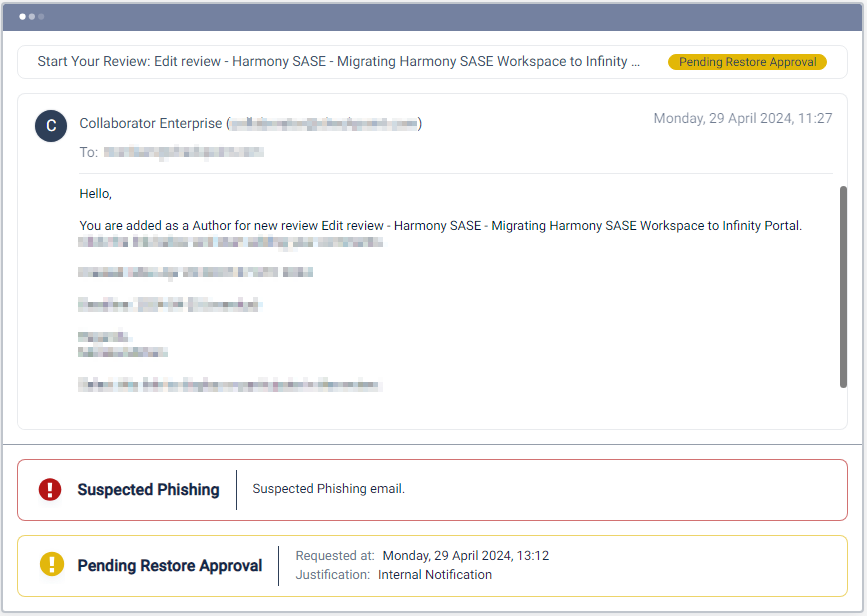
The system sends a request to the administrator for review.
-
Click Close.
The email status changes from Quarantined to Pending Restore Approval.
If the administrator approves the request, the email is restored to your mailbox and the email status changes to Restored.

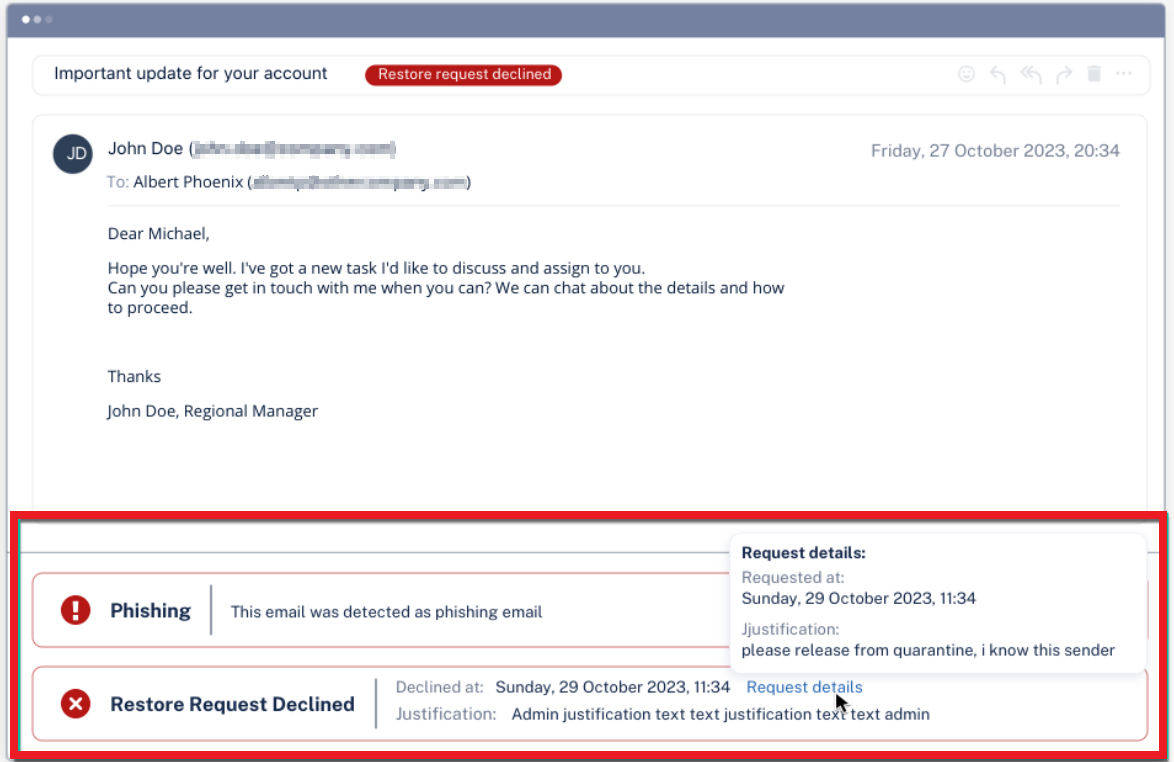
If the administrator declines the request, the email status changes to Restore Request Declined and the system shows the reason for declining the request.
Viewing the Status of Restore Requests
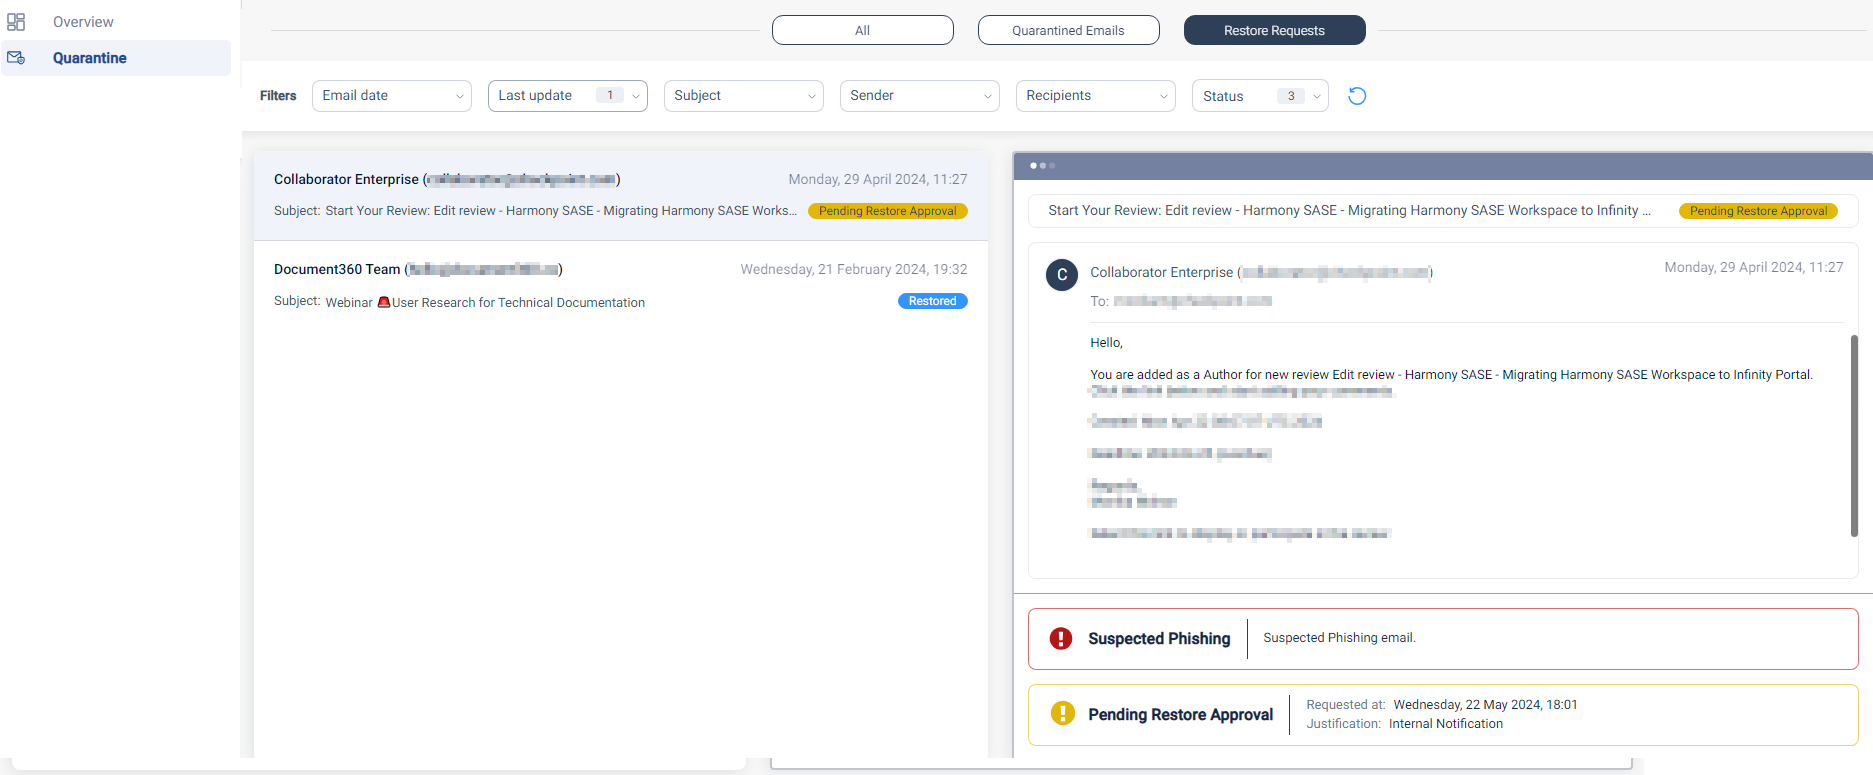
This page shows the status of restore requests that have been declined, awaiting approval (pending), or have been successfully restored.
To view the Restore Requests page, do one of these:
-
In the Overview page, click Check on my restore requests.
-
From the left navigation panel, click Quarantine and select the Restore Requests tab.
Trusted Senders
Trusted Senders are legitimate senders whose emails are sent to the spam folder of a user. When you see such an email from a legitimate person being moved to the spam folder, you can add them to the Trusted Senders list.
When Harmony Email & Collaboration sees a sender in the Trusted Senders list, it automatically moves the email to the inbox instead of the spam folder.
|
|
Note - Adding a sender to the Trusted Senders does not guarantee that the email will always be delivered to your mailbox. Harmony Email & Collaboration scans these emails for potential threats and can quarantine them. |
To view the Trusted Senders page, from the left navigation panel, click Trusted senders.

Adding Trusted Senders
-
From the left navigation pane, click Quarantine.

-
Select the spam email you want to add to the trusted senders.
-
Click Trust Sender.
The Trust Sender window appears.

-
Select the required option:
-
Trust sender's email address - Emails sent from this sender's address are delivered directly to your mailbox.
-
Trust sender's domain - Emails sent from this sender's domain are delivered directly to your mailbox.
-
-
Click OK.

The system adds this sender to the trusted senders list. To view the list of trusted domains or senders, see Viewing Trusted Senders.
-
Click Close.
Viewing Trusted Senders
The Trusted senders page shows the list of email address and domains that are added to the Trusted Senders.
To view the Trusted senders page, from the left navigation pane, click Trusted senders.
To delete a trusted sender, select the checkbox relevant to the sender and click Delete.
To edit a trusted sender:
-
Select the checkbox relevant to the sender.
-
Click Edit from the last column.
-
Make the required changes and Submit.