Manual Deployment
Harmony Endpoint service integrates with VMware Workspace ONE UEM through the VMware Portal.
Preparing the Harmony Endpoint Client Windows Package for Installation
Before you can deploy VMware VMware Workspace ONE UEM on Harmony Endpoints, it is necessary to create a MSI file on the endpoint. MSI provides a comprehensive and a standardized framework for the installer, which includes the uninstall and built-in features and options for silent running with standardized GUI that you trigger remotely.
To configure Harmony Endpoint:
-
Log in to Infinity Portal and go to the Harmony Endpoint Administrator Portal.
-
Go to Overview and select Download Endpoint.
Or, click Policy > Deployment Policy > Software Deployment and select Download Endpoint.
-
Select the necessary Download version and Virtual group for Windows.
-
Click Download. The
EndpointSetup.exefile downloads. -
Run this command to create an MSI file from the downloaded
EndpointSetup.exe:CopyEndpointSetup.exe /CreateMSIThe
EPS.msifile is created.
Creating the Harmony Endpoint App in VMARE VMware Workspace ONE UEM
After you created the MSI file on the Harmony Endpoint, follow these steps to configure the VMware side.
To configure VMARE VMware Workspace ONE UEM:
-
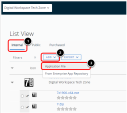
Go to the VMware Workspace ONE UEM console > Resources > Apps > Native.
The List View window opens.
-
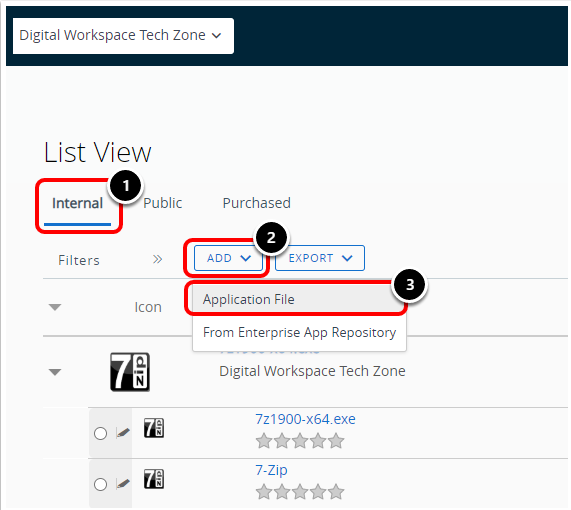
Below List View:
-
Select Internal.
-
Click Add > select Application File.
The Add Application window opens.
-
-
Enter Check Point Software (Technology) in the Organization Group ID.
-
Click Upload > Choose File and select the
EPS.msifile. -
Click Save > Continue.
-
Is this a dependency app?, keep Yes as the default.
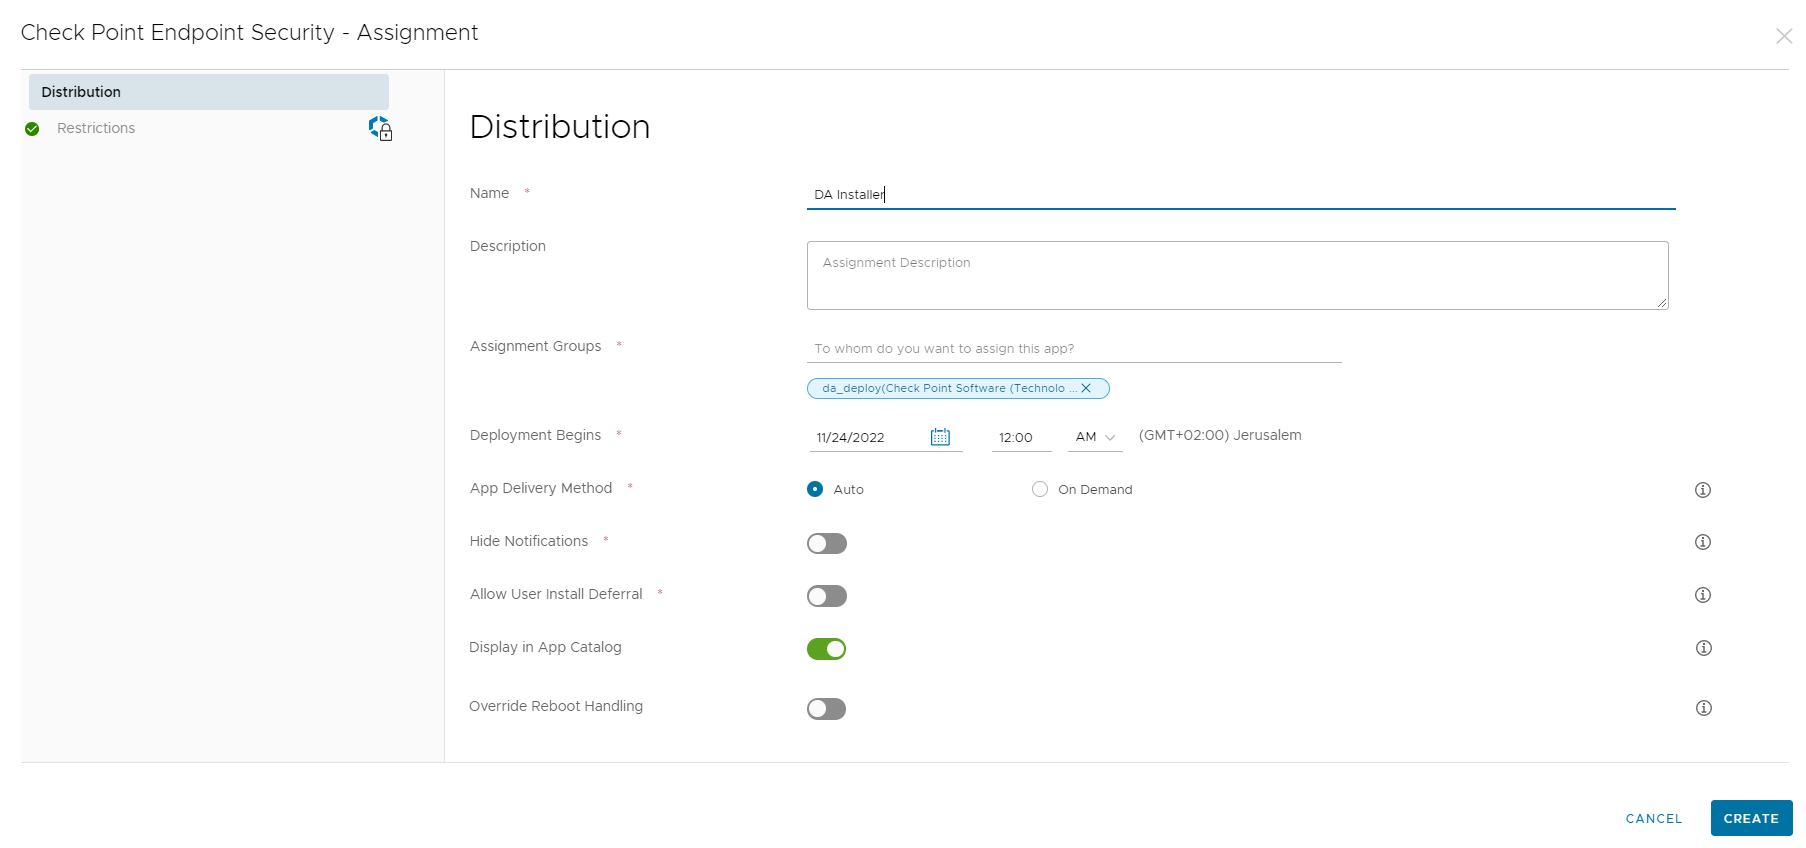
The Distribution window opens.
-
In the Distribution window, enter the necessary Assignment information:

-
Name - Enter a name
-
Assignment Group - Enter a name
-
Deployment Begins - Select a deployment start date
-
App Delivery Method - Auto
-
Hide Notifications - Off
-
Allow User Install Deferral - Off
-
Display in App Catalog - On
-
-
Click Save. [not Create??]
-
Click Publish.
The Check Point Endpoint Client shows in Resources > Apps > Details View.
|
|
Note - To see the installation status, go to Resources > Devices View. |
