SAML Configuration for Idaptive
To set up an Idaptive application as your Identity Provider to allow SAML authentication:
-
Log in to the Avanan Administrator Portal:
-
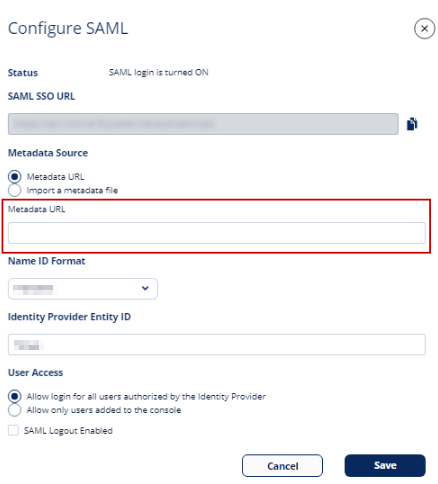
Go to System Settings > Settings and click Configure SAML.
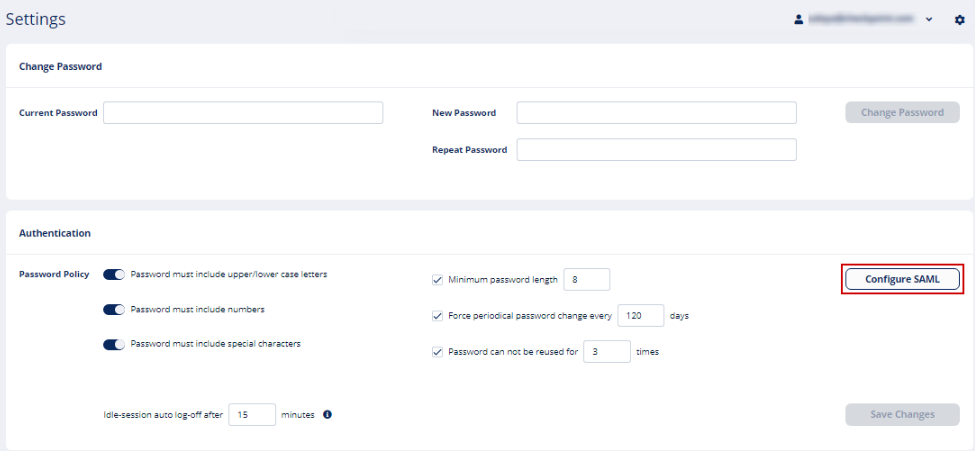
The Configure SAML window appears.

-
In the SAML SSO URL field, click
 to copy the SAML SSO URL.
-
-
Log in to your Idaptive Admin Portal:
-
Go to Apps > Web Apps.
-
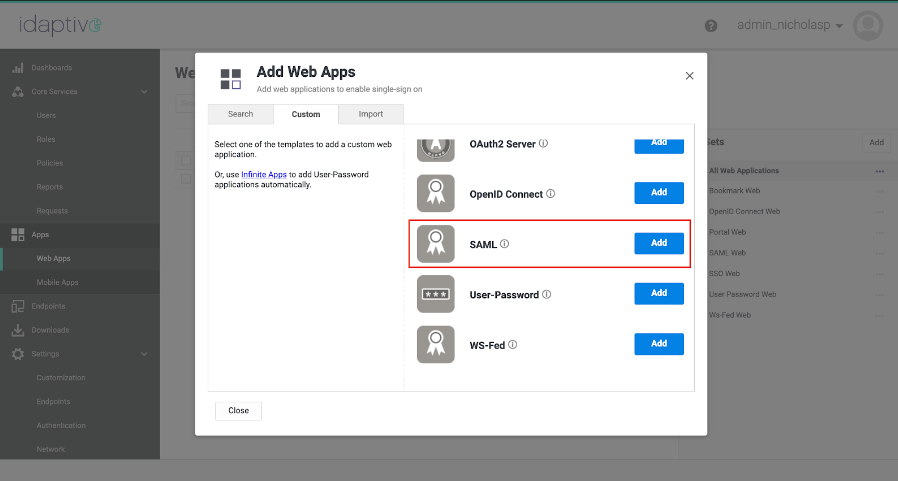
Click Add Web Apps.
-
Click the Custom tab.
-
For SAML, click Add.
-
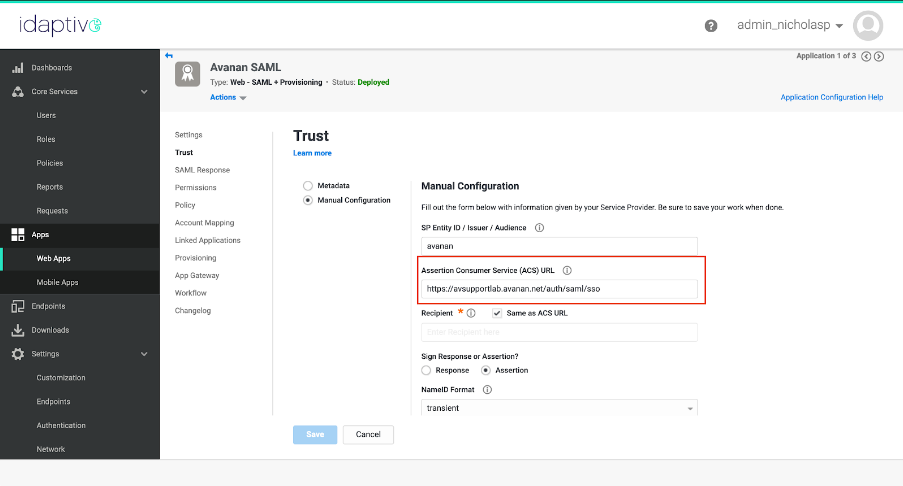
Click Trust and in the Service Provide Configuration section, select Manual Configuration.
The Manual Configuration section appears.
-
In the Assertion Consumer Service (ACS) URL field, paste the url copied in step 1.b.
-
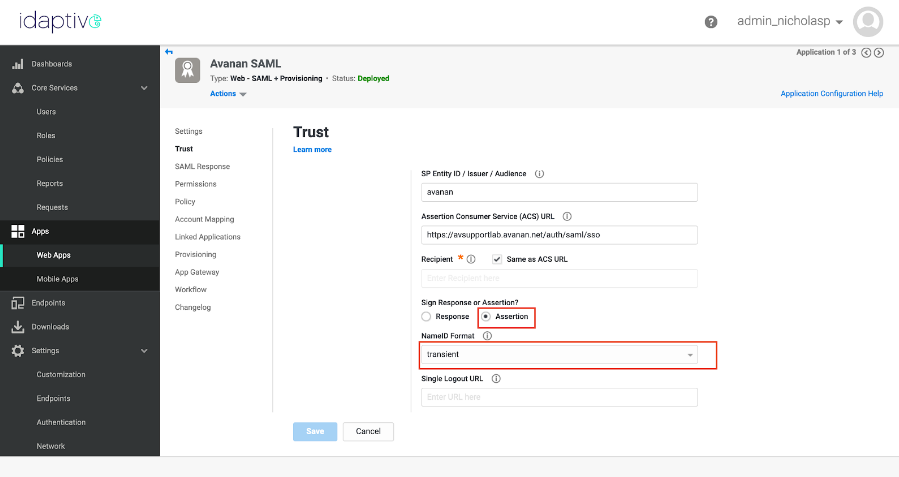
From the Sign Response or Assertion options, select Assertion.
-
From the NameID Format list, select transient.
-
Click Save.
-
Scroll up to the Metadata URL field and click
.
-
-
Log in to the Avanan Administrator Portal:
-
Go to System Settings > Settings and click Configure SAML.
The Configure SAML window appears.
-
In the Metadata Source field, select Metadata URL and paste the url copied in step 2.l.
-
Clear the Are you running Azure AD checkbox.
-
Click Save.
-
-
Log in to your Idaptive Admin Portal:
-
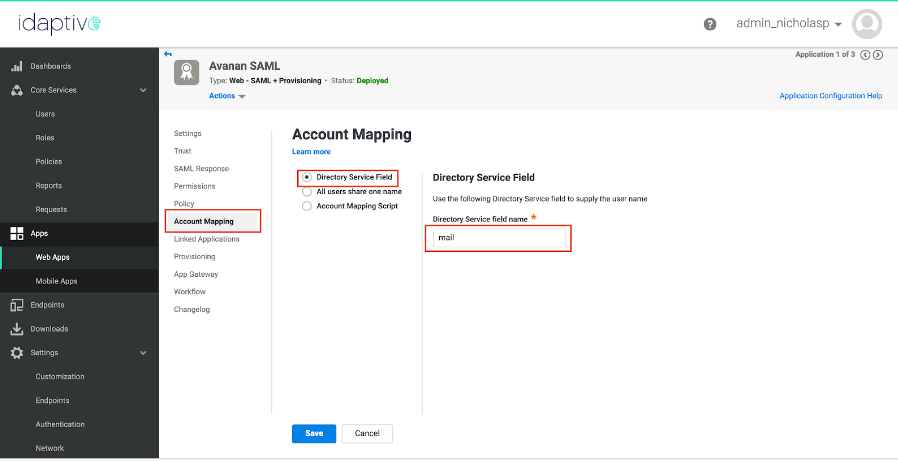
Go to Apps > Web Apps.
-
Click Account Mapping and select Directory Service Field.
The Directory Service Field section appears.
-
In the Directory Service field name field, enter mail as the directory service field name.
-
Click Save.
-
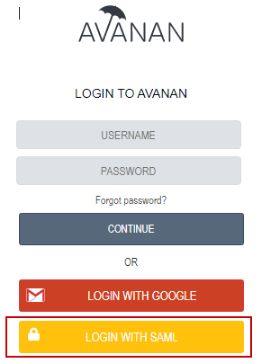
Make sure that you assign users to the newly created SAML application in Idaptive Admin portal.
You are now able to login to the Avanan Administrator Portal with SAML.
-