19100, 19200, 29100, and 29200
Preparing the Appliance
Before you start to install or remove the LOM Card, make sure that:
-
The appliance is shut down and you disconnect the power cables.
-
The appliance is in a clean environment and on a level surface.
-
You can physically access and open the cover of the appliance.
-
You have the Check Point LOM Card kit.
Important
-
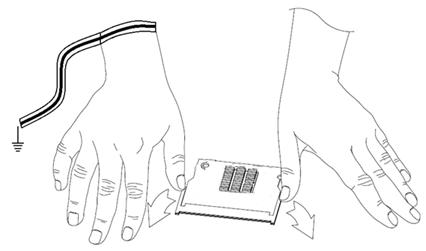
To protect the appliance and LOM Card from electrostatic discharge, make sure that you are grounded.
-
Read the Health and Safety Information in the Getting Started Guide.
See the Check Point Firewall 19000 and 29000 Appliances Getting Started Guide
LOM Card Kit Contents:
-
QR code page - Installing and Replacing a LOM Card in Check Point Appliances
-
LOM Card
-
Screwdriver
-
ESD grounding strap (anti-static)
To prepare the appliance:
-
Shut down the appliance by one of these methods:
-
From the Gaia Portal (see the Shut Down section in the Gaia Administration Guide for your version).
-
Through Gaia Clish commands (see the Shut Down section in the Gaia Administration Guide for your version).
-
Quickly press and release the power switch.

Note - We do not recommend the use of the power switch as it results in a forced and immediate shut down.
-
-
Remove the power cords from the appliance.
-
Remove the appliance from the rack and put it on a flat surface.
-
Put the ESD strap on your wrist and attach the other end to the ESD grounding point on the rear panel of the appliance.
-
Remove the top cover from the appliance.
To remove the top cover:
-
Unscrew the cover screws (number 2 on the diagram below).
-
Pull the top cover back in the same direction the red arrows are pointing on the diagram.
-
Pull the cover up to remove it completely.
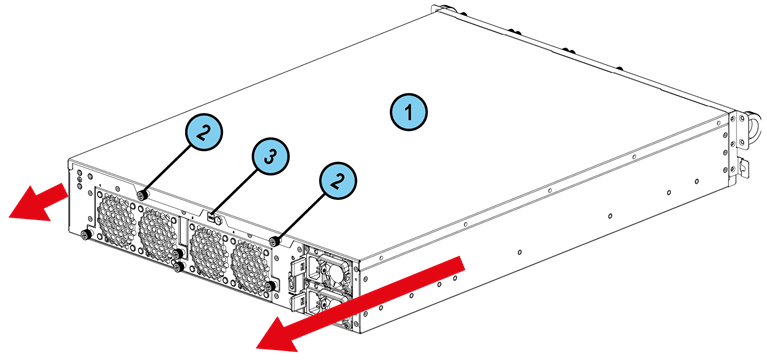
The 29200 appliance is shown above. Removal of the top cover is the same in the 19100, 19200, and 29100 appliances.
|
Item |
Description |
|---|---|
|
1 |
Appliance cover |
|
2 |
Appliance cover screws |
|
3 |
ESD grounding point |
Finding the LOM Card Socket
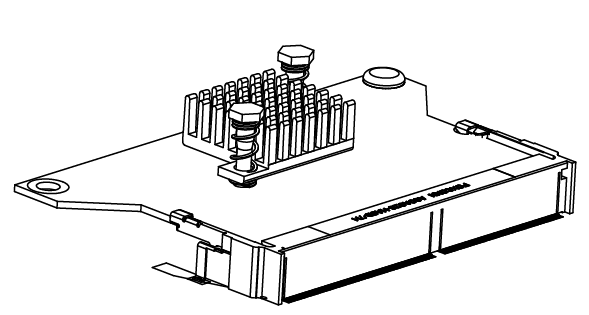
The diagram shows the location of the LOM Card in the appliance.
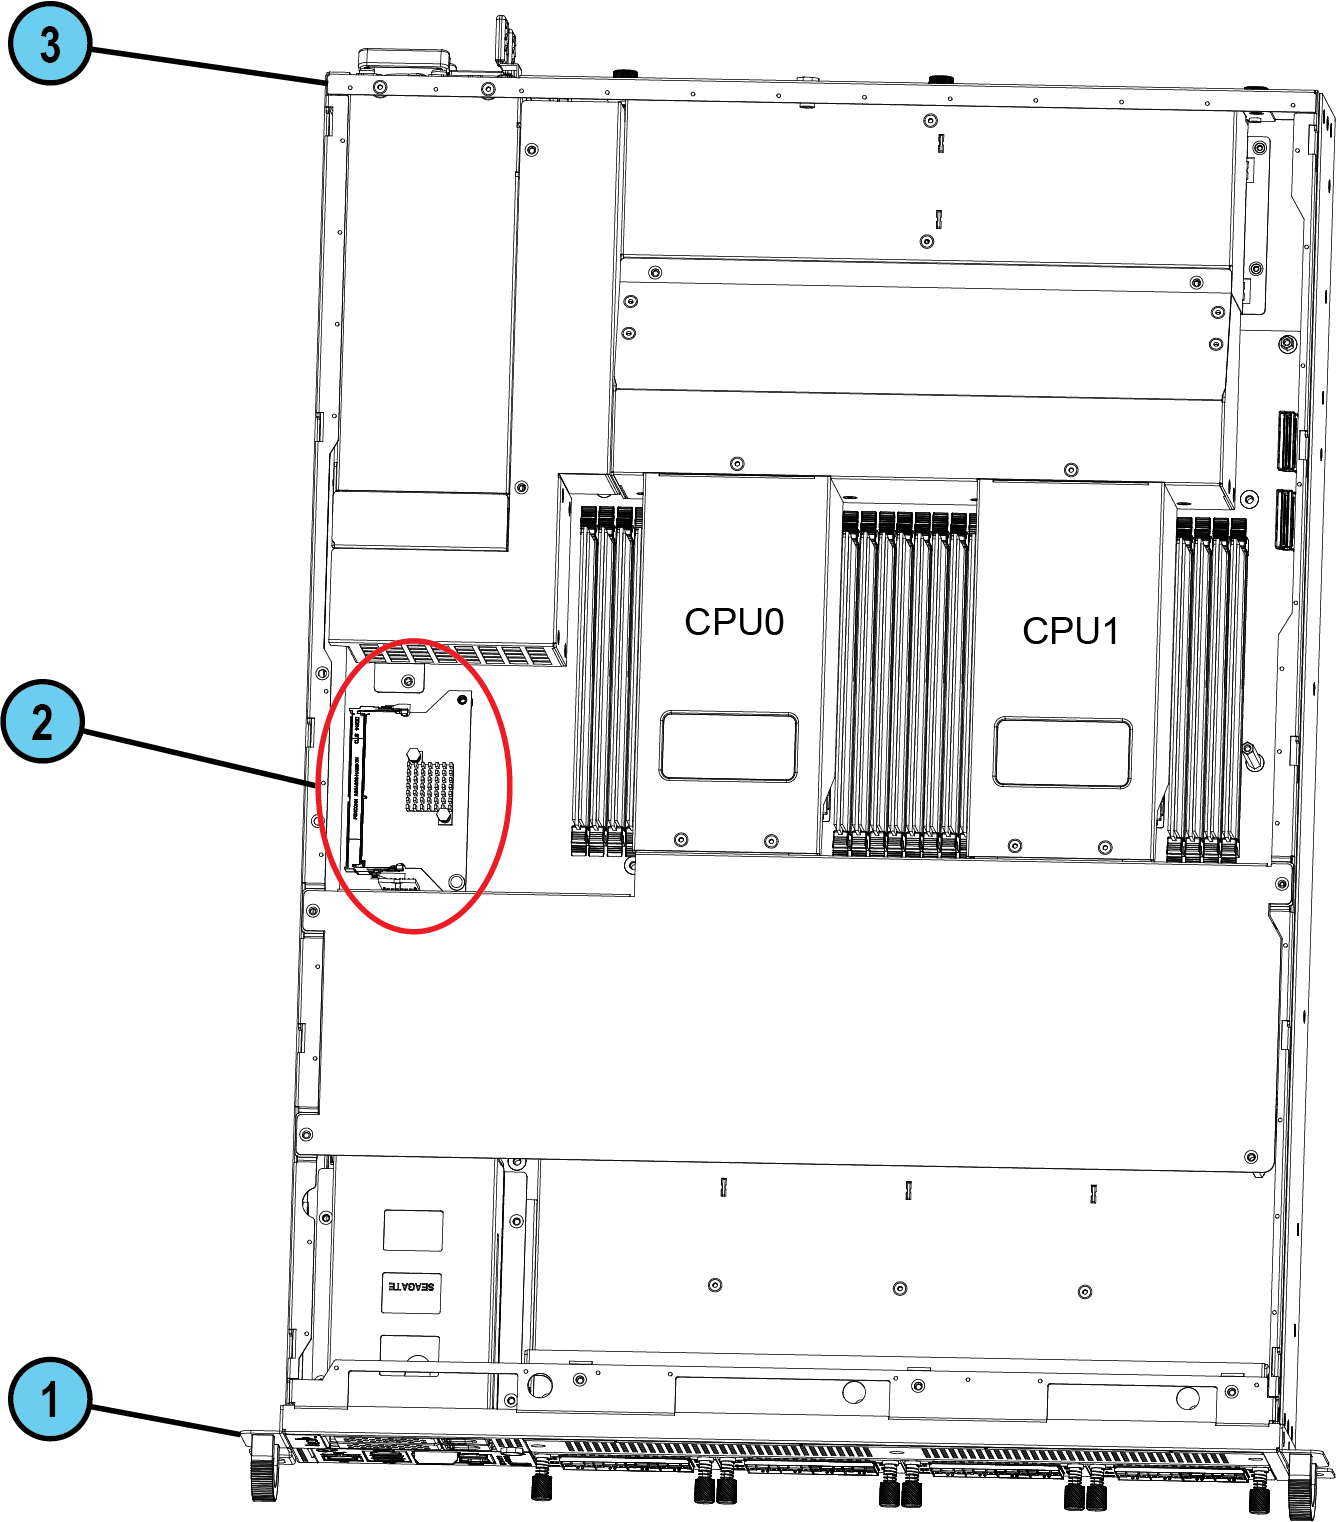
|
Item |
Description |
|---|---|
|
1 |
Front panel |
|
2 |
LOM Card (in socket) |
|
3 |
Rear panel |
Removing the LOM Card
Make sure that you prepare the appliance before you remove the LOM Card.

|
Item |
Description |
|---|---|
|
1 |
Screw |
|
2 |
Socket locking levers |
|
3 |
Socket |
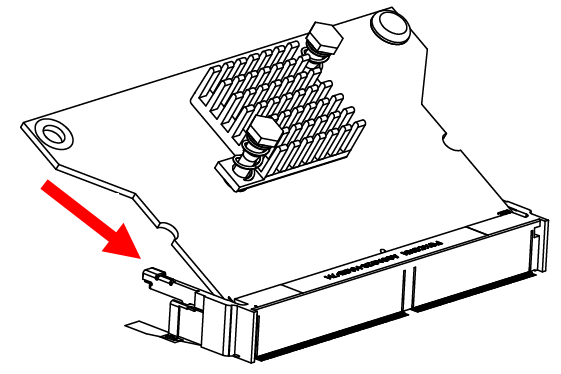
To remove the LOM Card:
-
Remove the screw located in the corner of the LOM Card.
-
Pull the socket locking levers outward (away from the card edges).
-
Lift the end of the card and pull it out of the socket.
Installing the LOM Card
To install the LOM Card in the appliance:
-
Find the LOM Card socket on the system board.

Important - Be careful. There are sharp metal parts in the appliance, such as the heat sink fins and bracket, which can cause injury to your fingers and also damage the LOM Card.
-
Hold the LOM Card at an angle to align it with the receptacle in the socket.
-
Press down on the LOM Card until it lies flat.
-
Insert and tighten the screw at the top of the LOM Card.
-
Close the appliance.
To make sure the LOM Card is installed correctly:
-
Connect the power cords to the appliance.
The appliance turns on.
-
Connect an Ethernet cable between your computer and the LOM port of the appliance. The LEDs on each port must light up.
Initial Login to the LOM Card WebUI
To log in to the LOM Card WebUI:
-
Use an Ethernet cable to connect the LOM port to a computer.
-
On the computer, configure a static IP address from this subnet:
192.168.0.0 / 255.255.255.0 -
Open a web browser and enter the default IP address of the LOM Card:
https://192.168.0.100The login window opens.
-
Enter the default username (
admin) and password (admin).Guidelines to change the password for the default user come into view.
For more information, see the First-Time Setup section in the Lights Out Management (LOM) HTML5-based Card Administration Guide.