Smart-1 7000-L, Smart-1 7000-XL, and Smart-1 7000-UL
Smart-1 7000-L, Smart-1 7000-XL, and Smart-1 7000-UL Appliances have a redundant power supply unit (PSU) and support DC PSUs.
If necessary, you can replace a PSU. Note that all PSUs on an appliance must be of the same type (DC).
|
|
Warning:
|

|
|
Warning - All work related to the |
Smart-1 7000-XL and Smart-1 7000-UL
|
|
Important:
|

Smart-1 7000-L
|
|
Important:
|
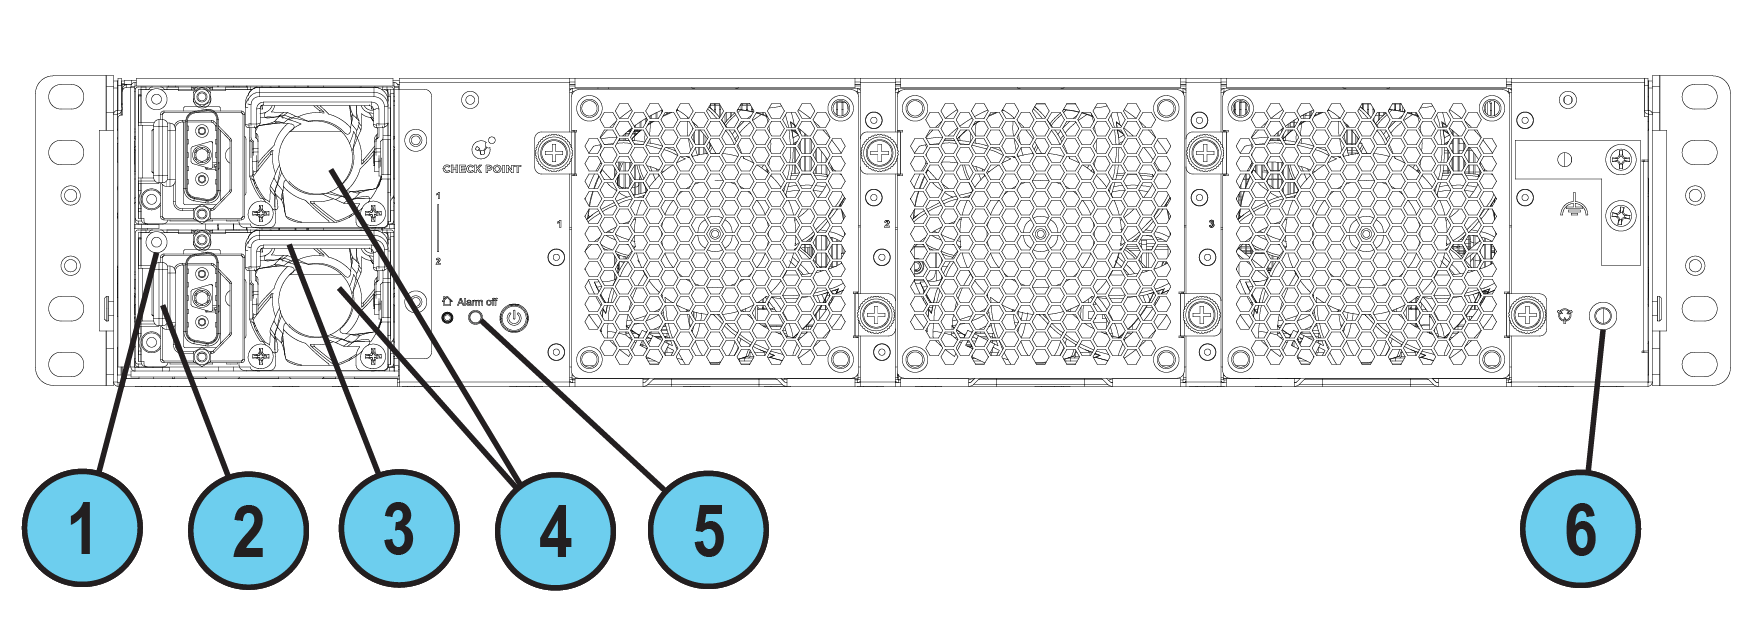
Rear Panel
|
Item |
Description |
|---|---|
|
1 |
LED indicator for each power supply unit
|
|
2 |
Release lever |
|
3 |
Extractor handle |
|
4 |
Two DC PSUs, one on top of the other, marked 1 and 2 |
|
5 |
Alarm Off button for power supply units |
|
6 |
ESD grounding point |
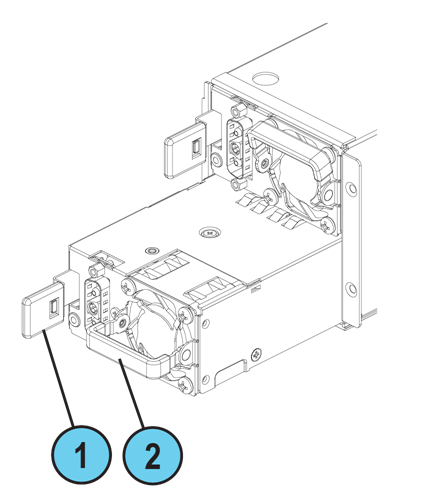
Removing a DC Power Supply Unit
Before you remove a power supply unit, we recommend that you make sure that either:
-
A second DC power supply is installed and connected to a working power source.
Or
-
The appliance is shut down.
To remove a power supply unit:
-
Disconnect the power cable from the power source.
-
Loosen the two screws on the PSU cable connector and then remove the DC power connector from the DC PSU.
-
If the alarm sounds, press the Alarm Off button to the right of the DC PSUs.
-
While you press and hold the PSU release lever, pull the extraction handle to remove the DC PSU.
|
Item |
Description |
|---|---|
|
1 |
Release lever |
|
2 |
Extractor handle |
|
|
Note - Remove the power supply unit only with the extraction handle to prevent any possible damage. |

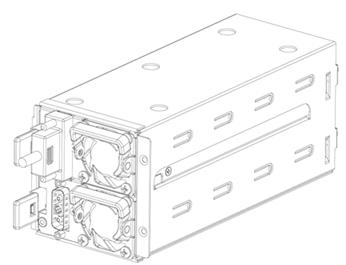
Installing a Replacement DC Power Supply Unit
To install a replacement power supply unit:
-
Make sure that both DC PSUs are the same type and have the same maximum output power.
-
Insert the DC PSU into the power supply slot until it is completely seated and the release lever snaps into place.
-
Connect the DC power connector to the DC PSU.
-
Screw the two screws on the DC power connector.
-
Plug the power cable into the power socket.
-
Make sure that the power LED on the DC PSU is lit up.
PSU Configuration and Monitoring
See the Getting Started Guide for PSU configuration and monitoring options:
Smart-1 7000-L Appliances Getting Started Guide
Smart-1 7000-XL / Smart-1 7000-UL Appliances Getting Started Guide